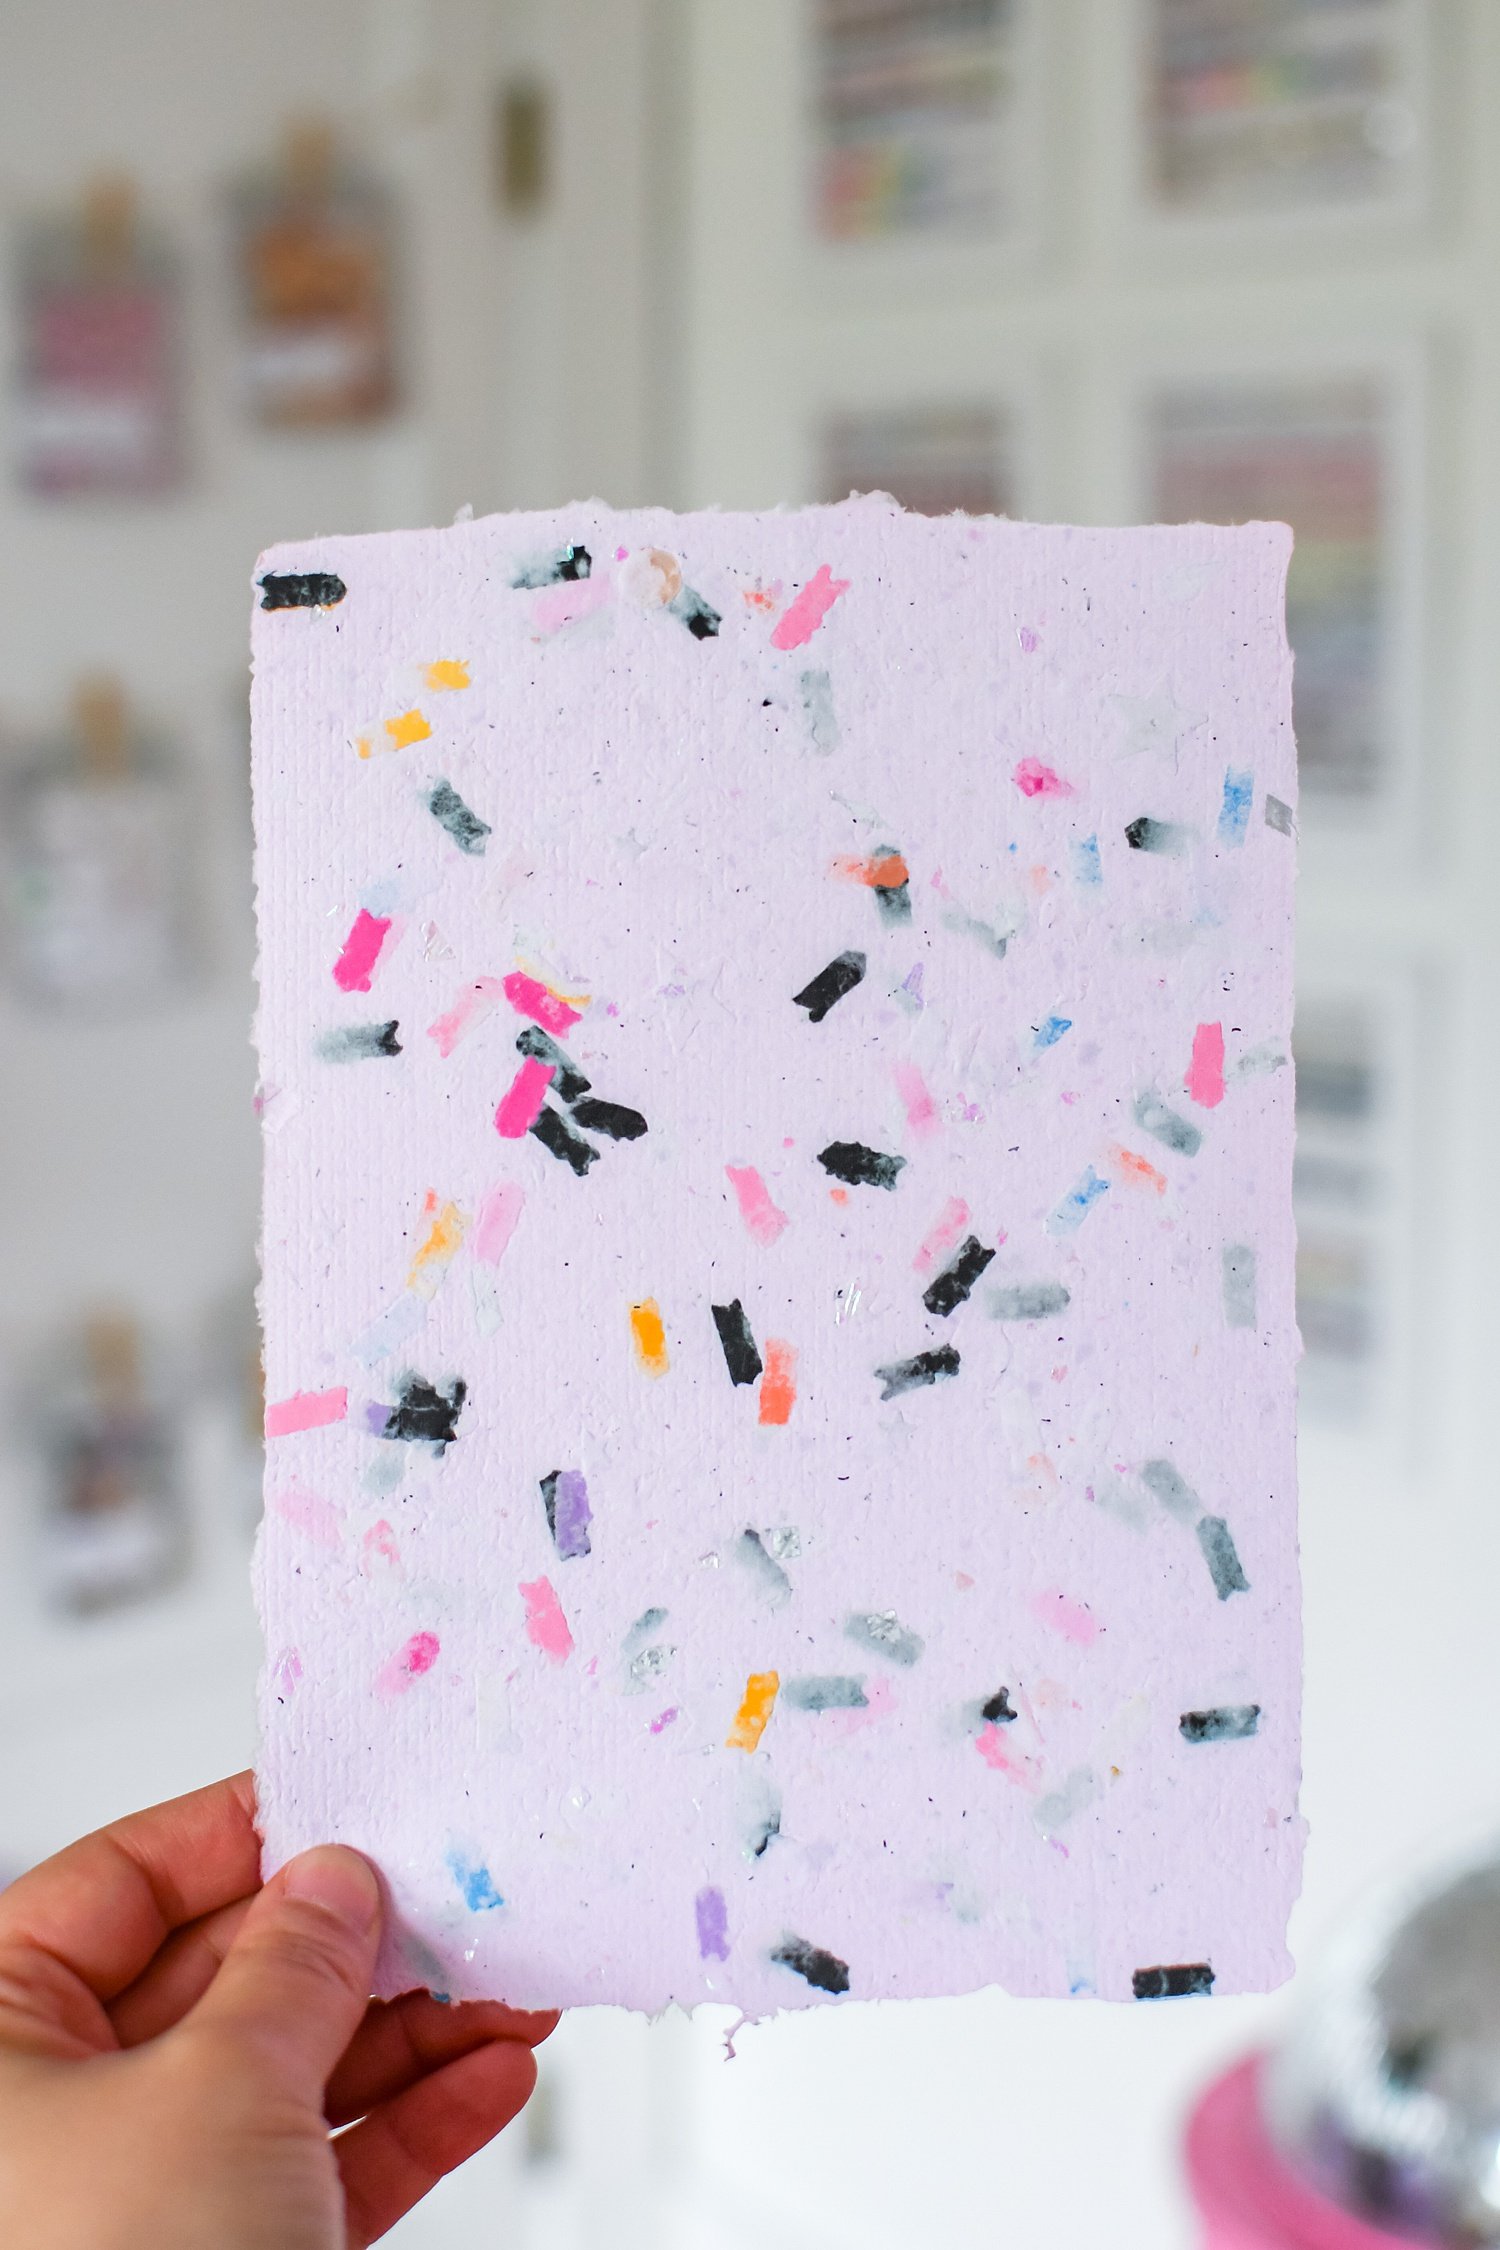
Handmade Confetti Paper
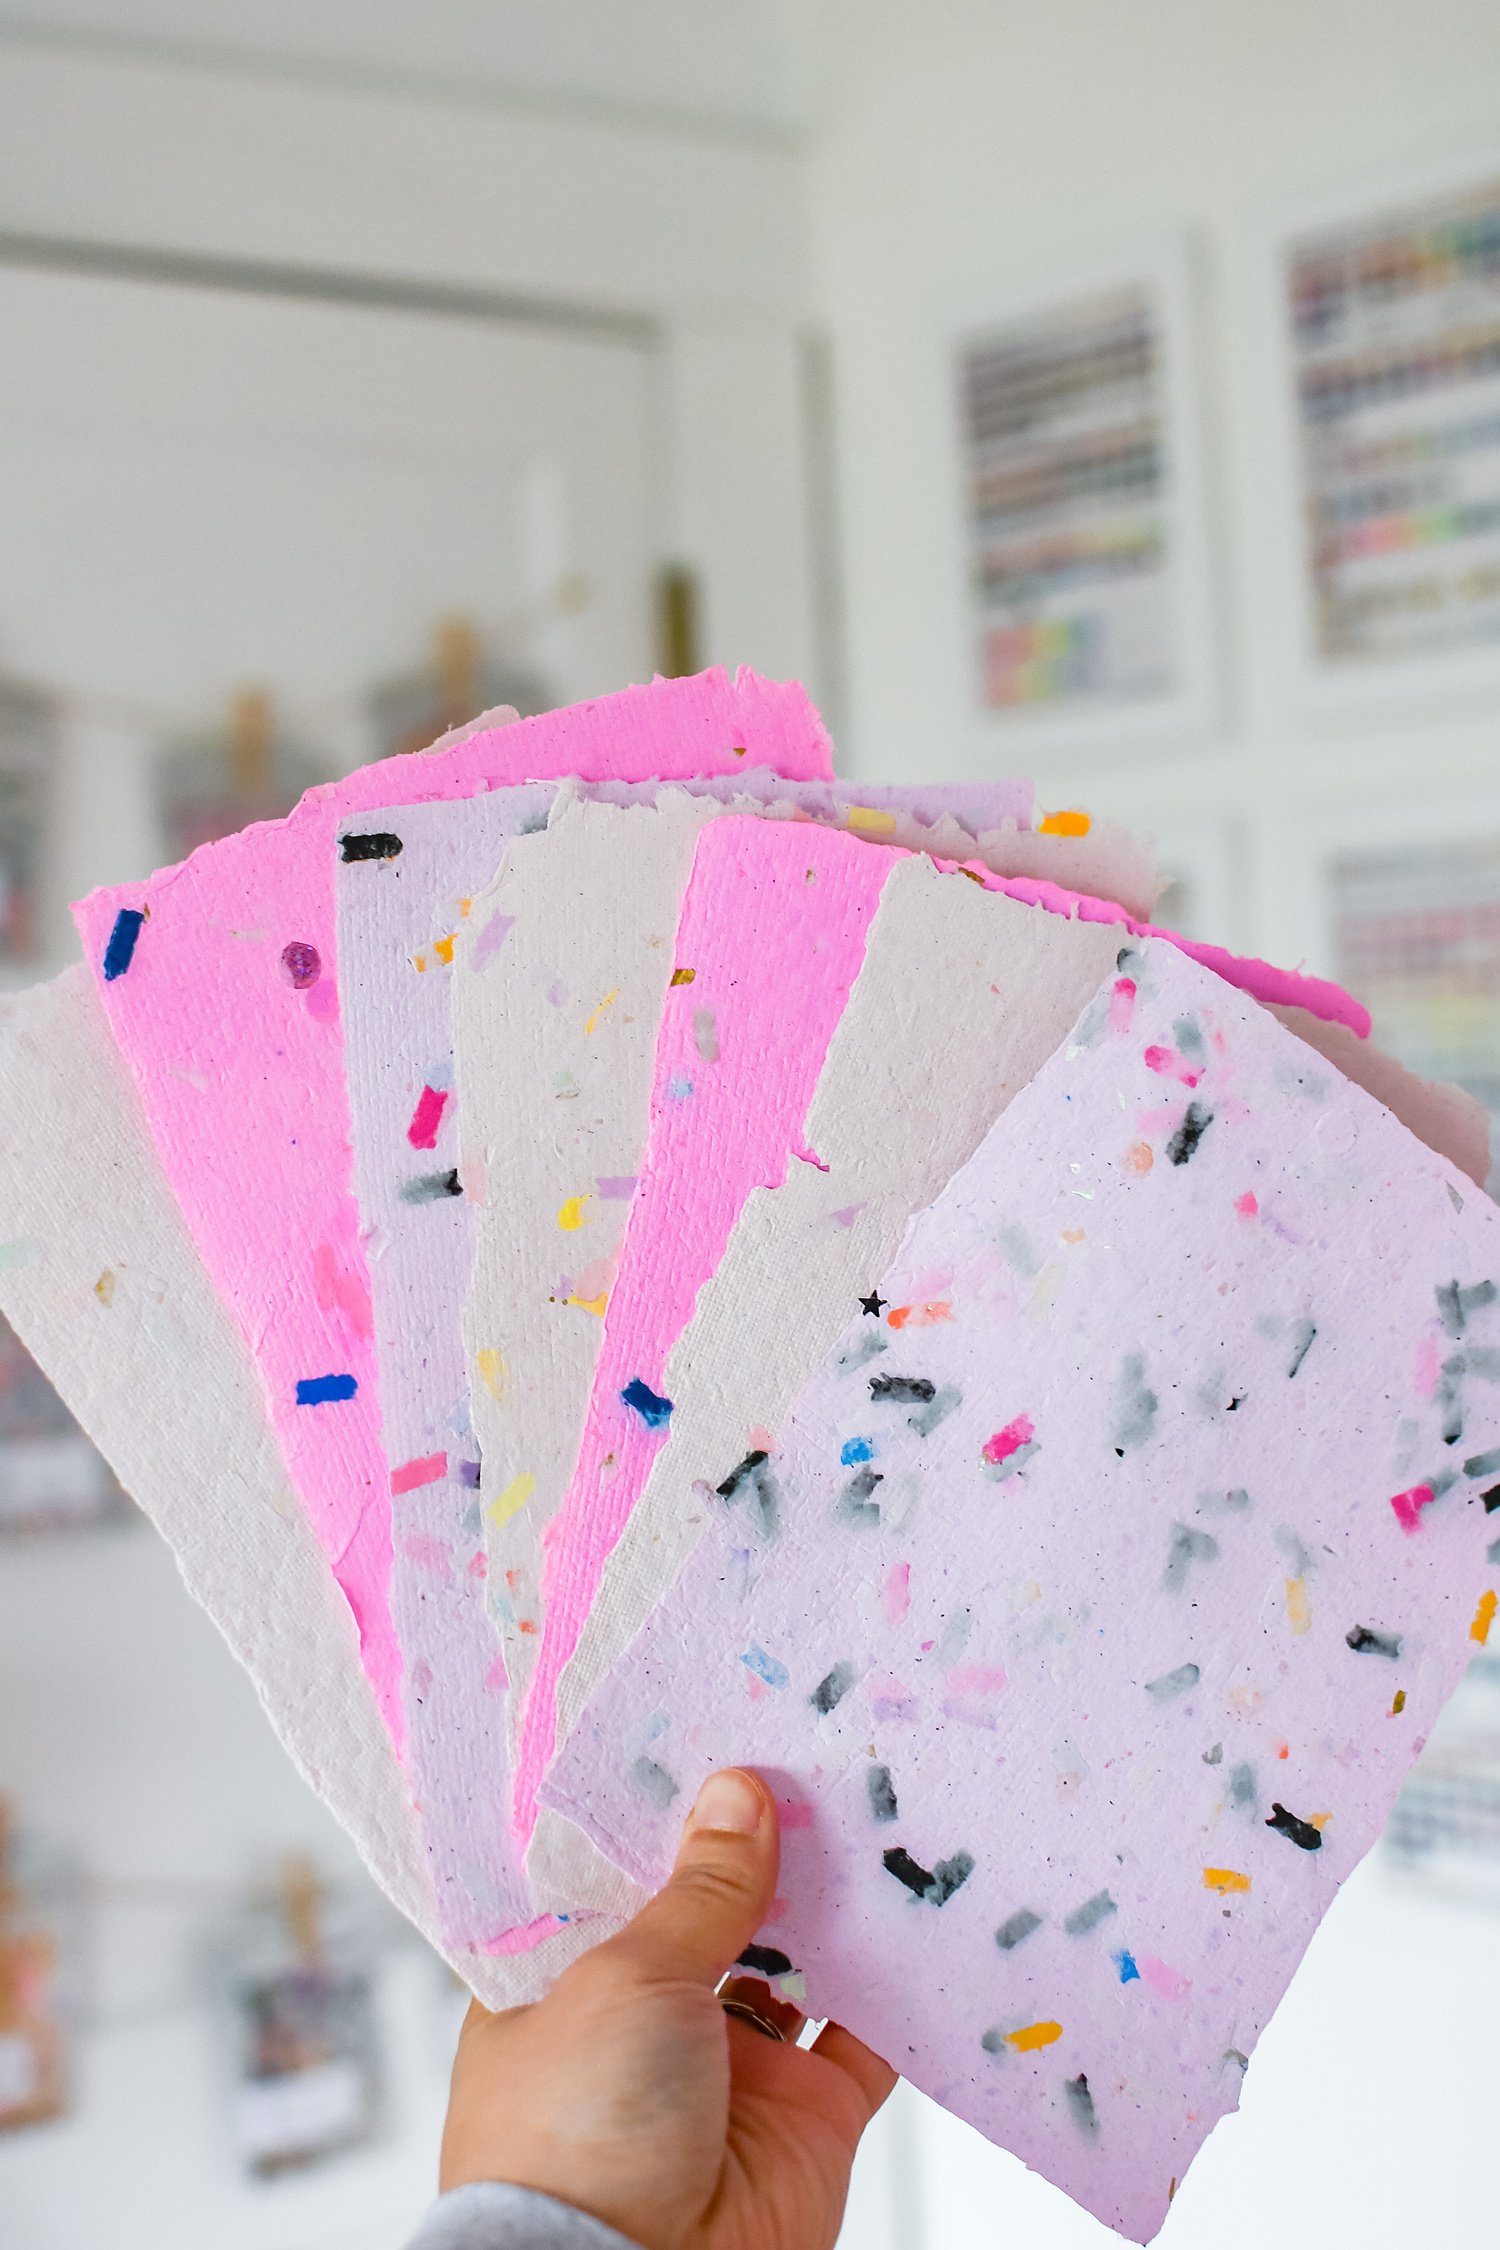
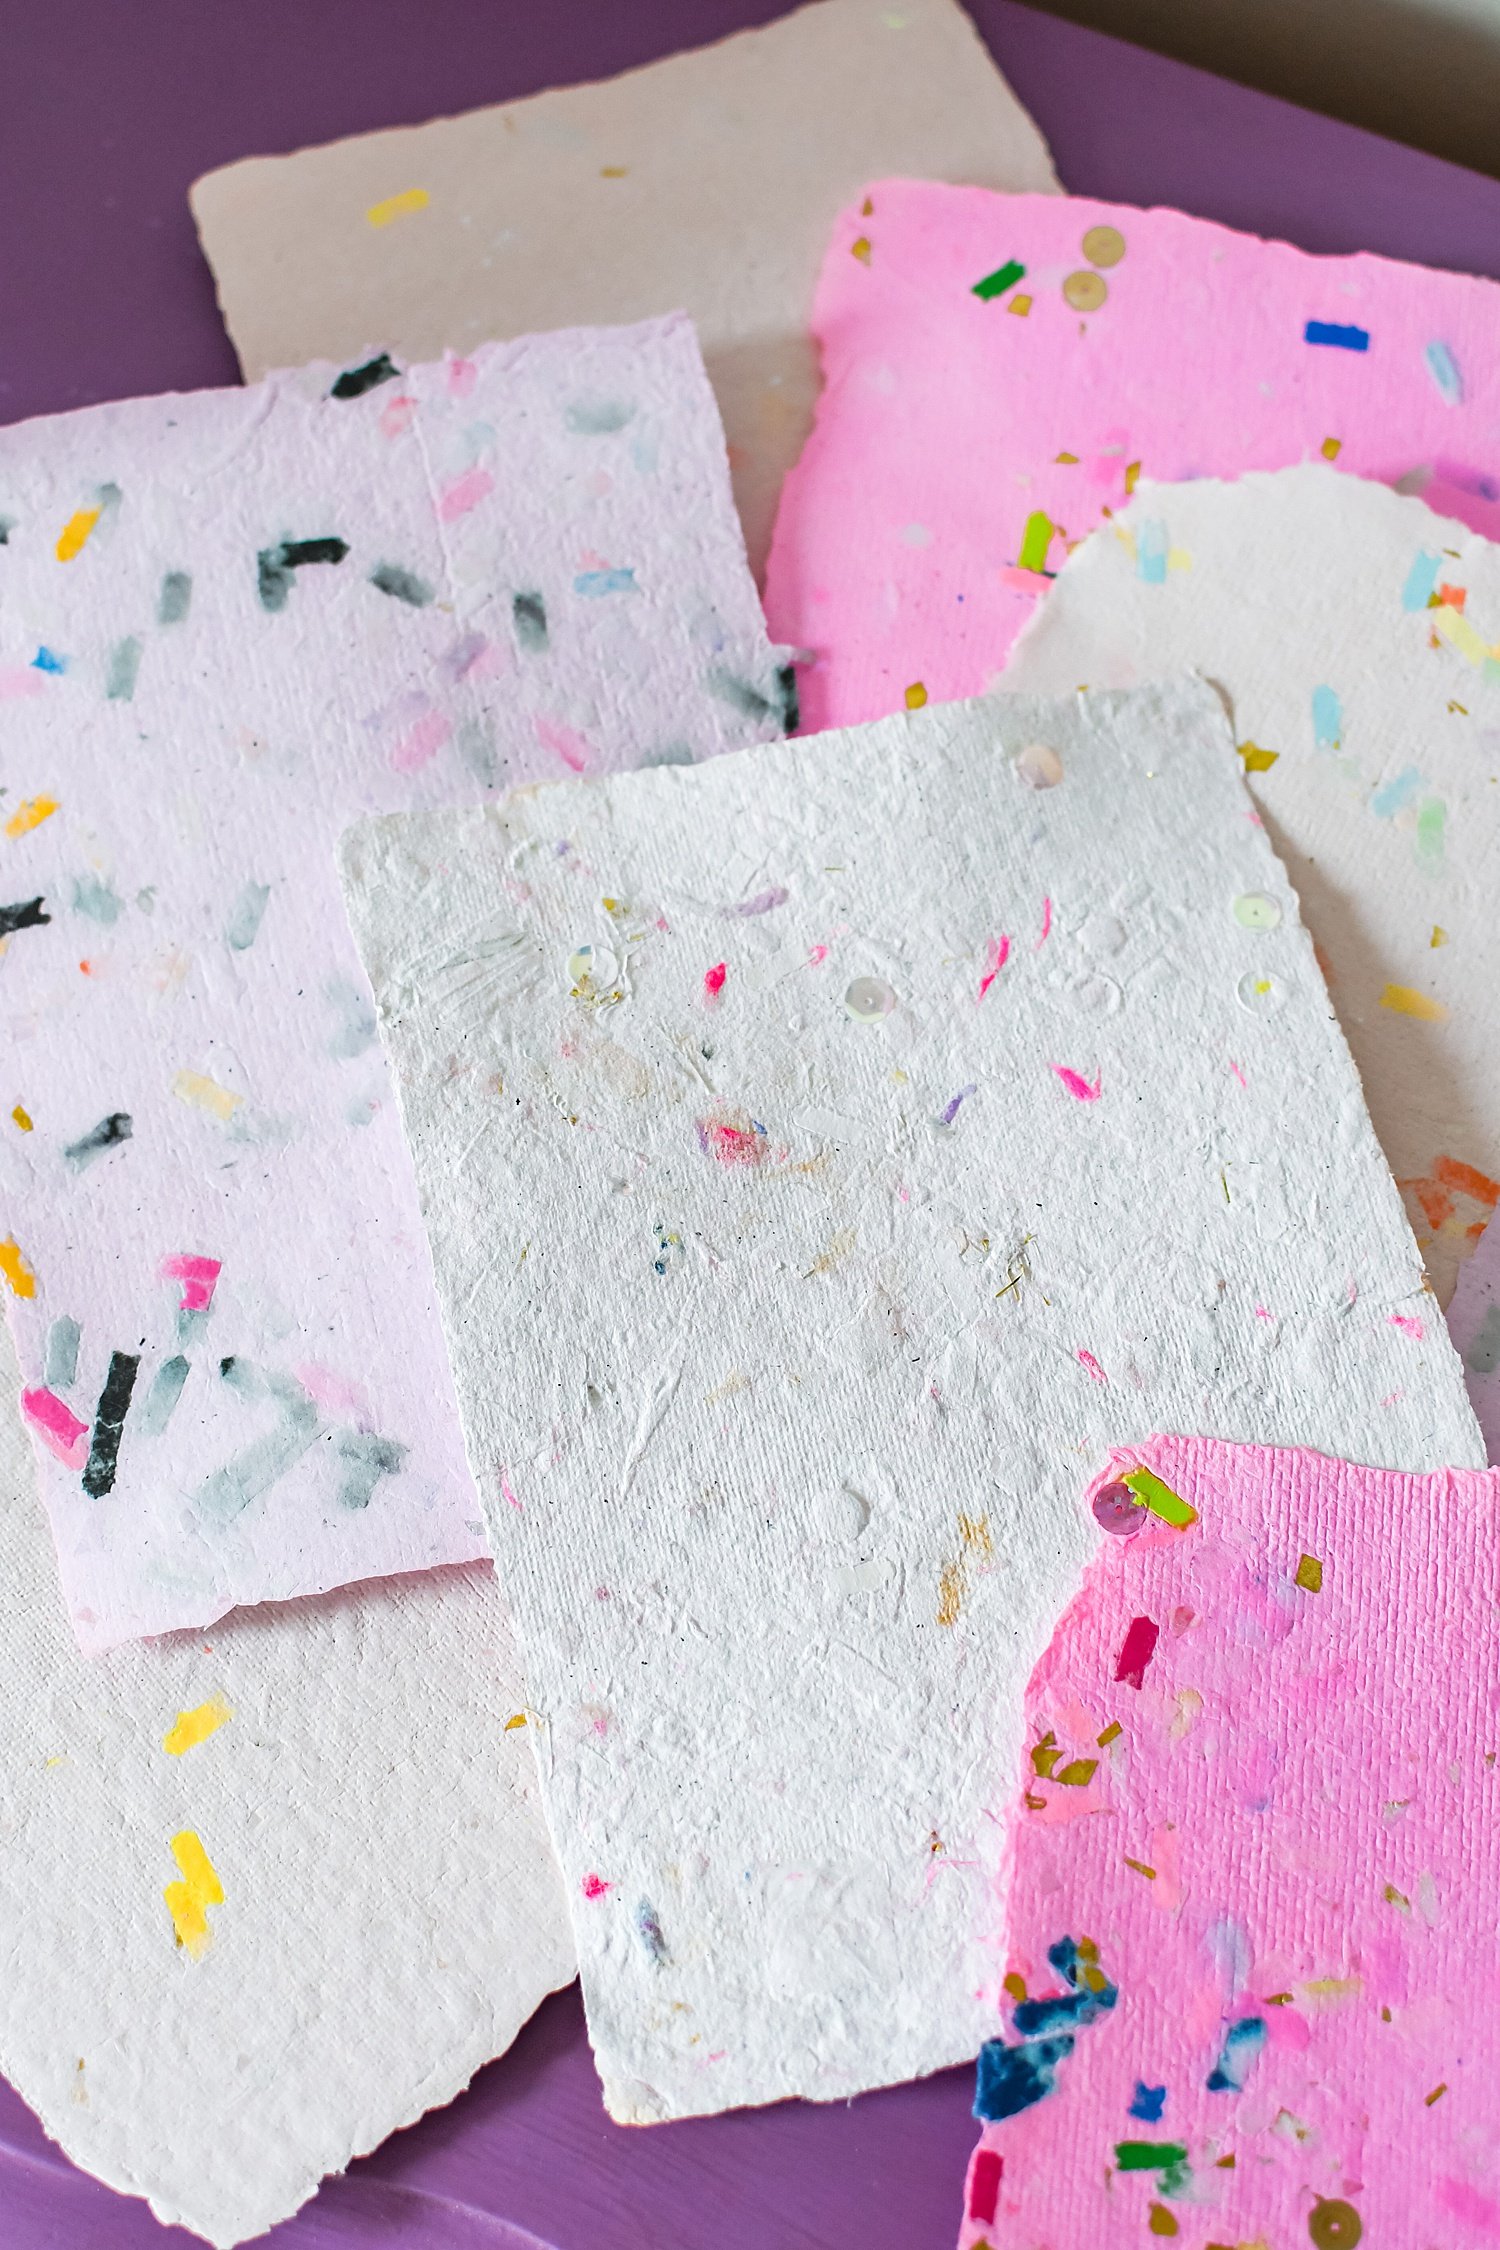
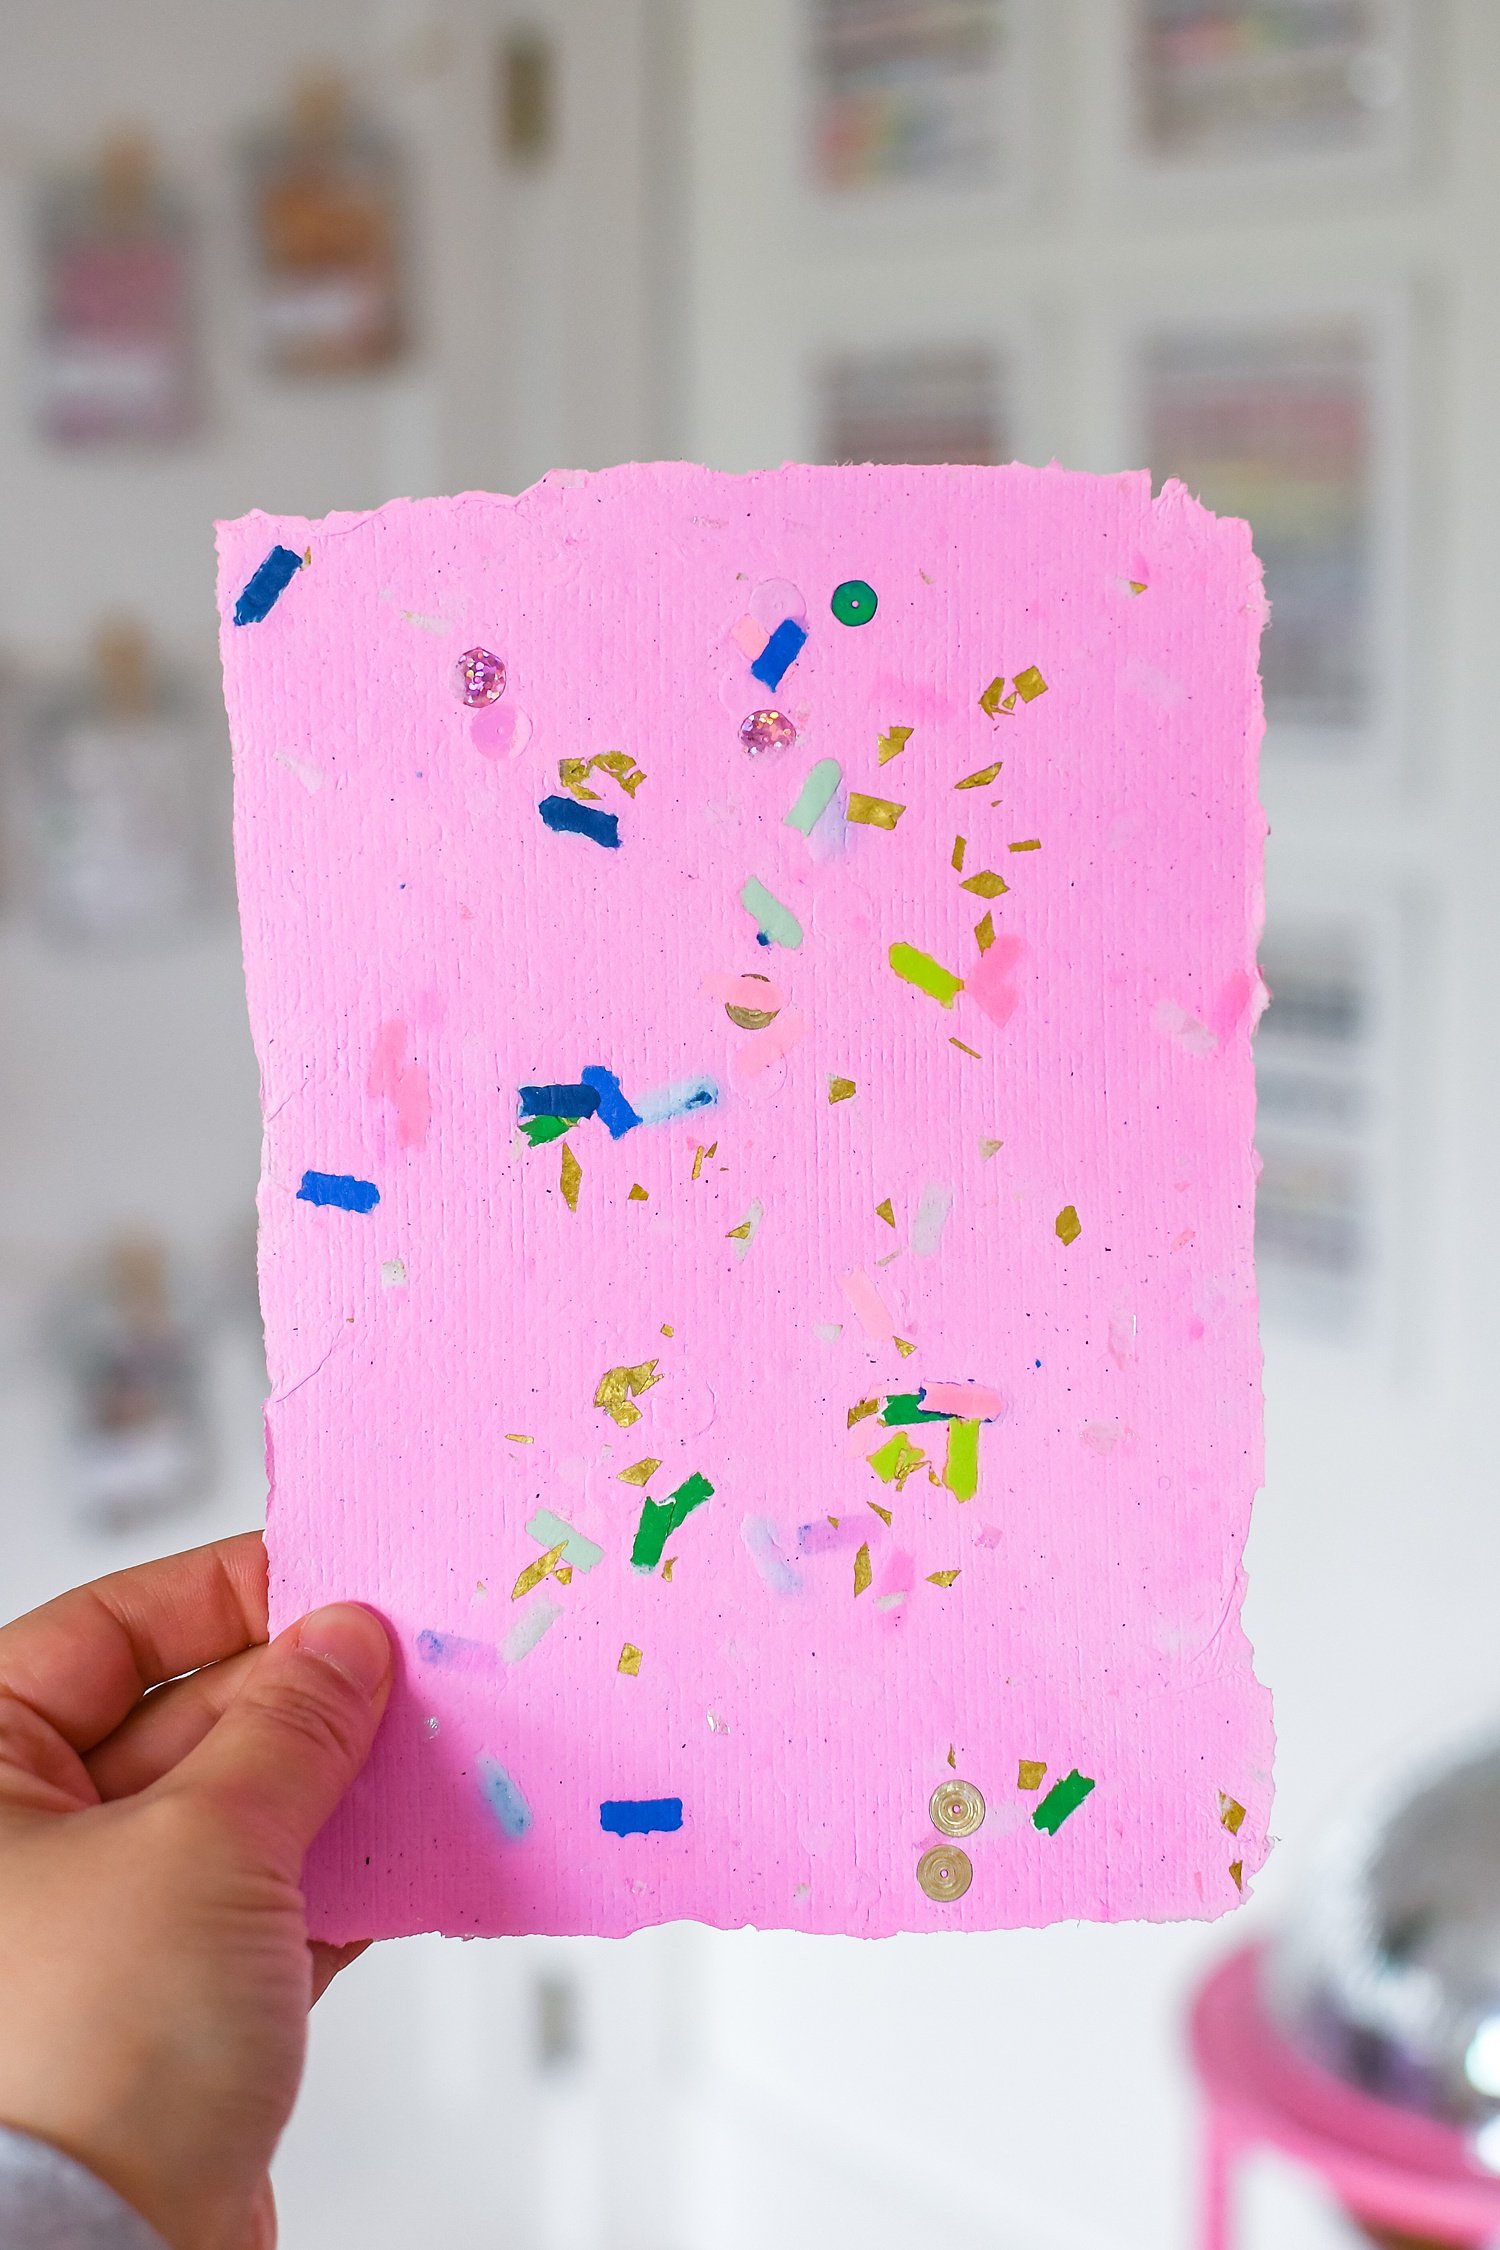
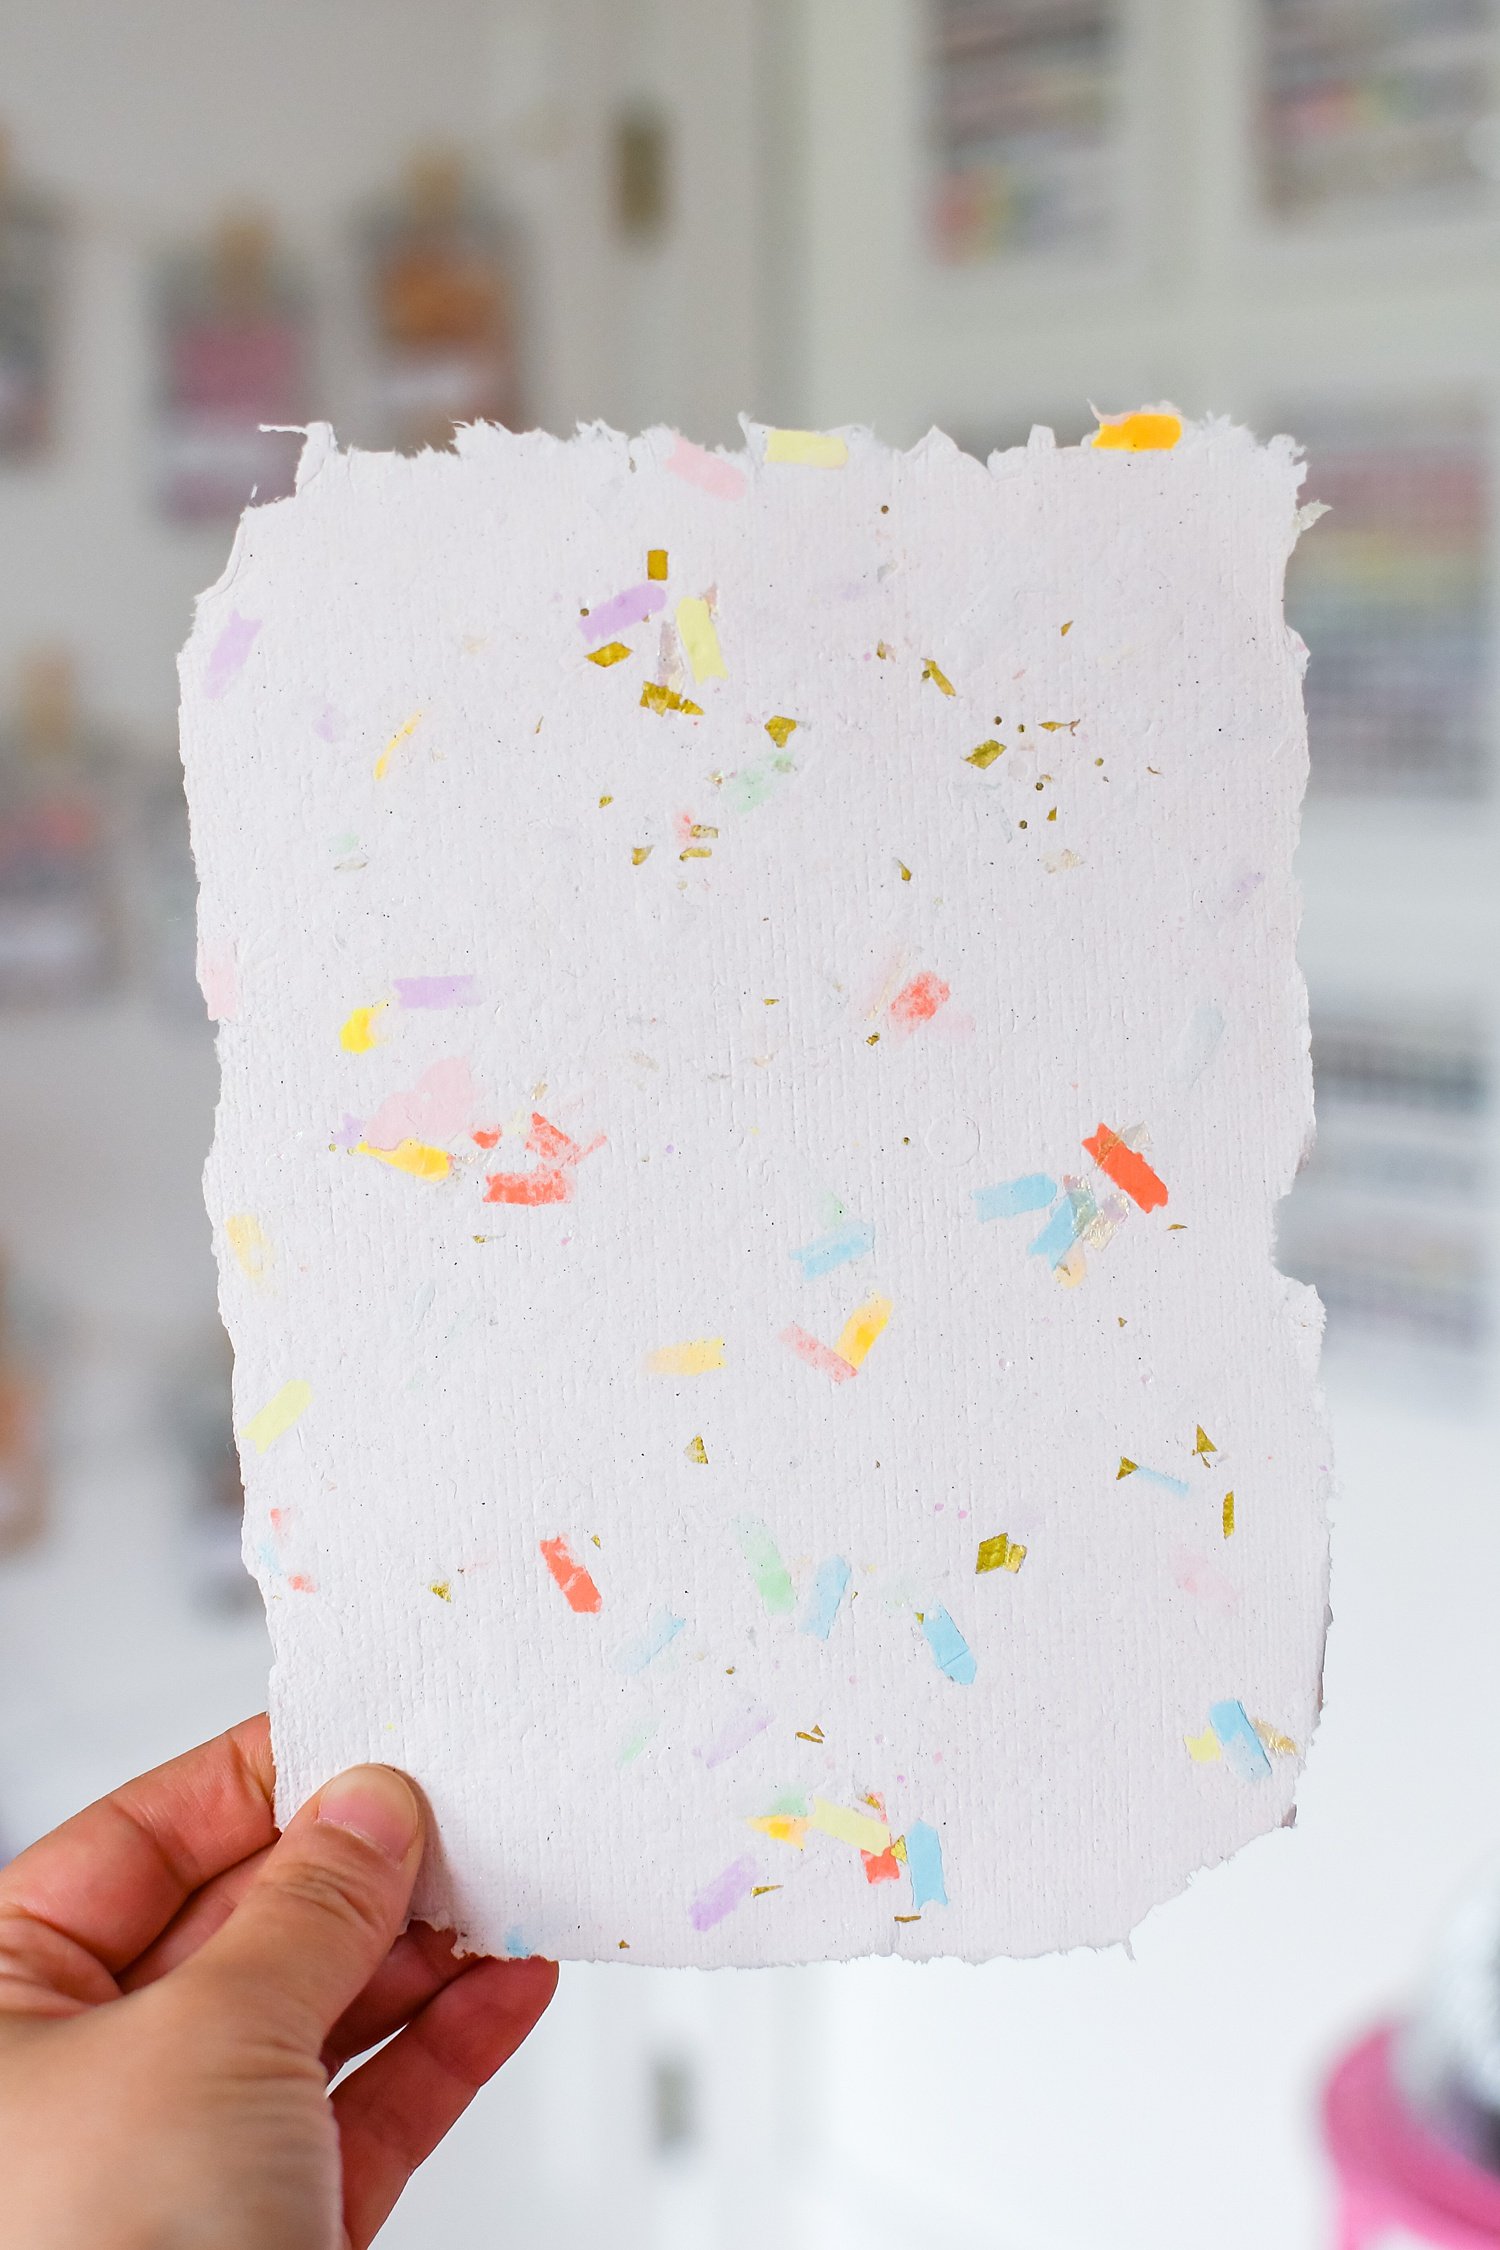
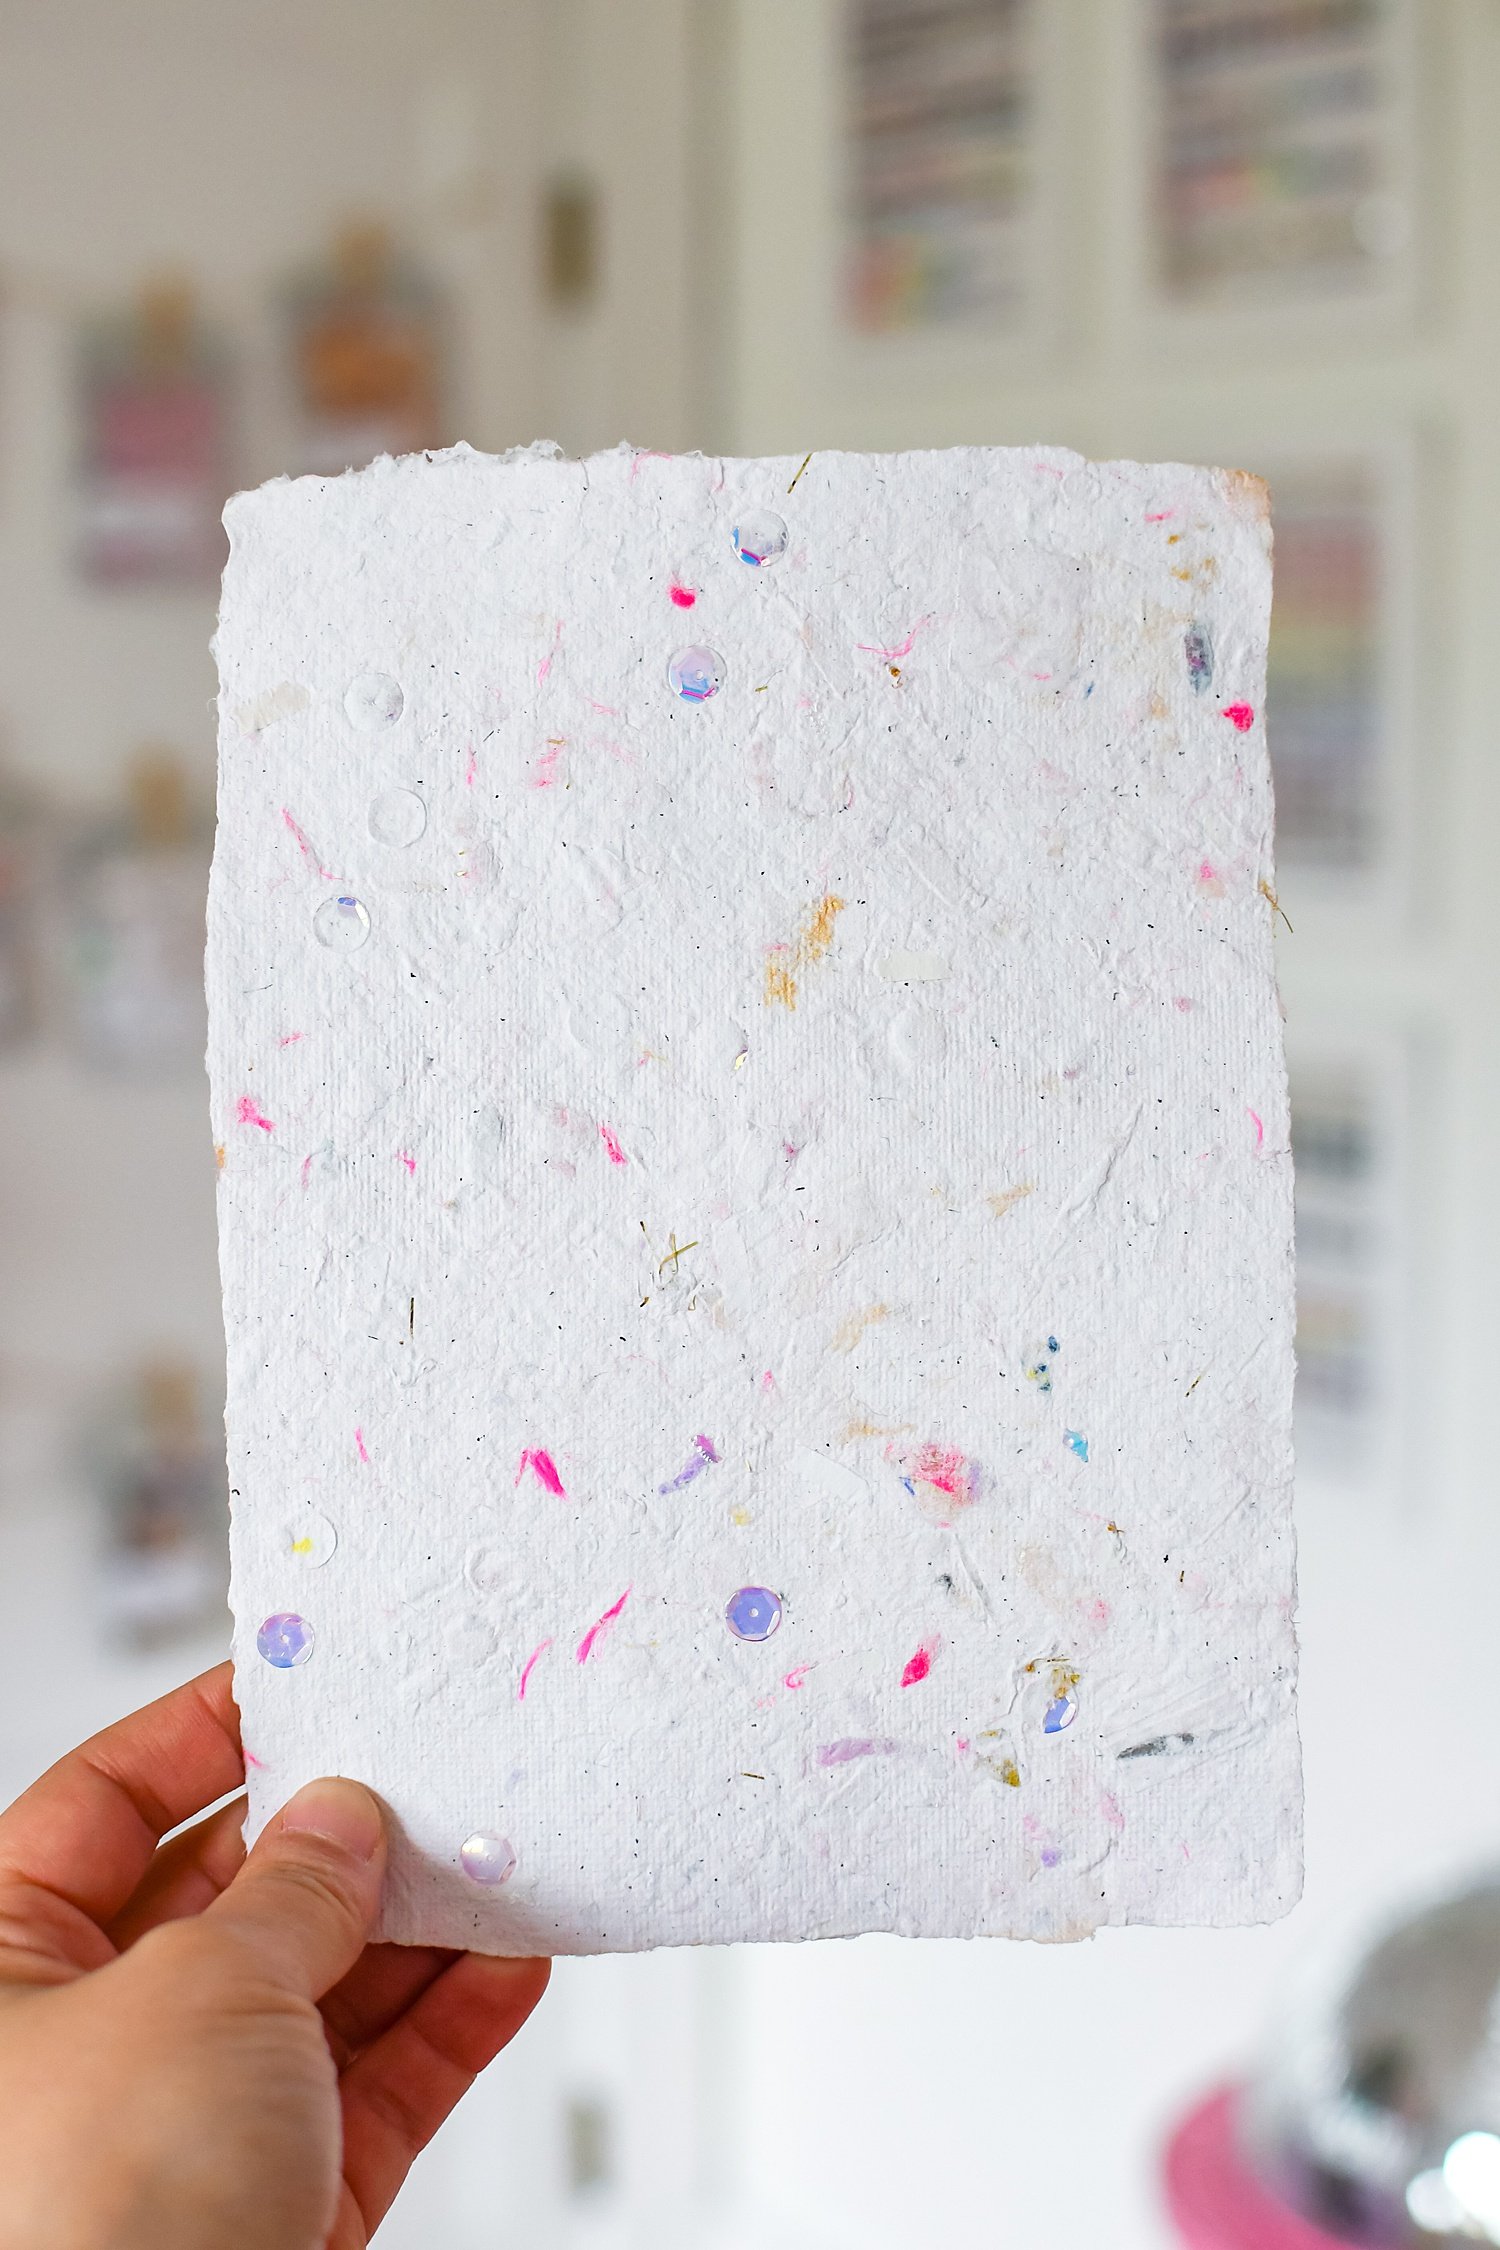
Have you ever gazed at a handful of vibrant confetti and wished you could transform it into something magical and practical? Well, get excited because today we are embarking on a delightful journey of adding confetti into artisanal, handmade paper - that’s right…handmade confetti paper is now a thing! Prepare to let your imagination run wild and read on to learn how to infuse a dash of enchantment into your next DIY paper project.
How to make handmade confetti paper:
Now, before we get into the magic of adding confetti to it, let’s first just cover the basics of making handmade paper in general. This post from Paperslurry is a nice overview of the papermaking process if you’re not familiar at all. I’ll walk you through how I made my paper below (with a few handy tips), but I won’t get into the super nitty gritty specifics of making your own recycled paper.
Papermaking Supplies:
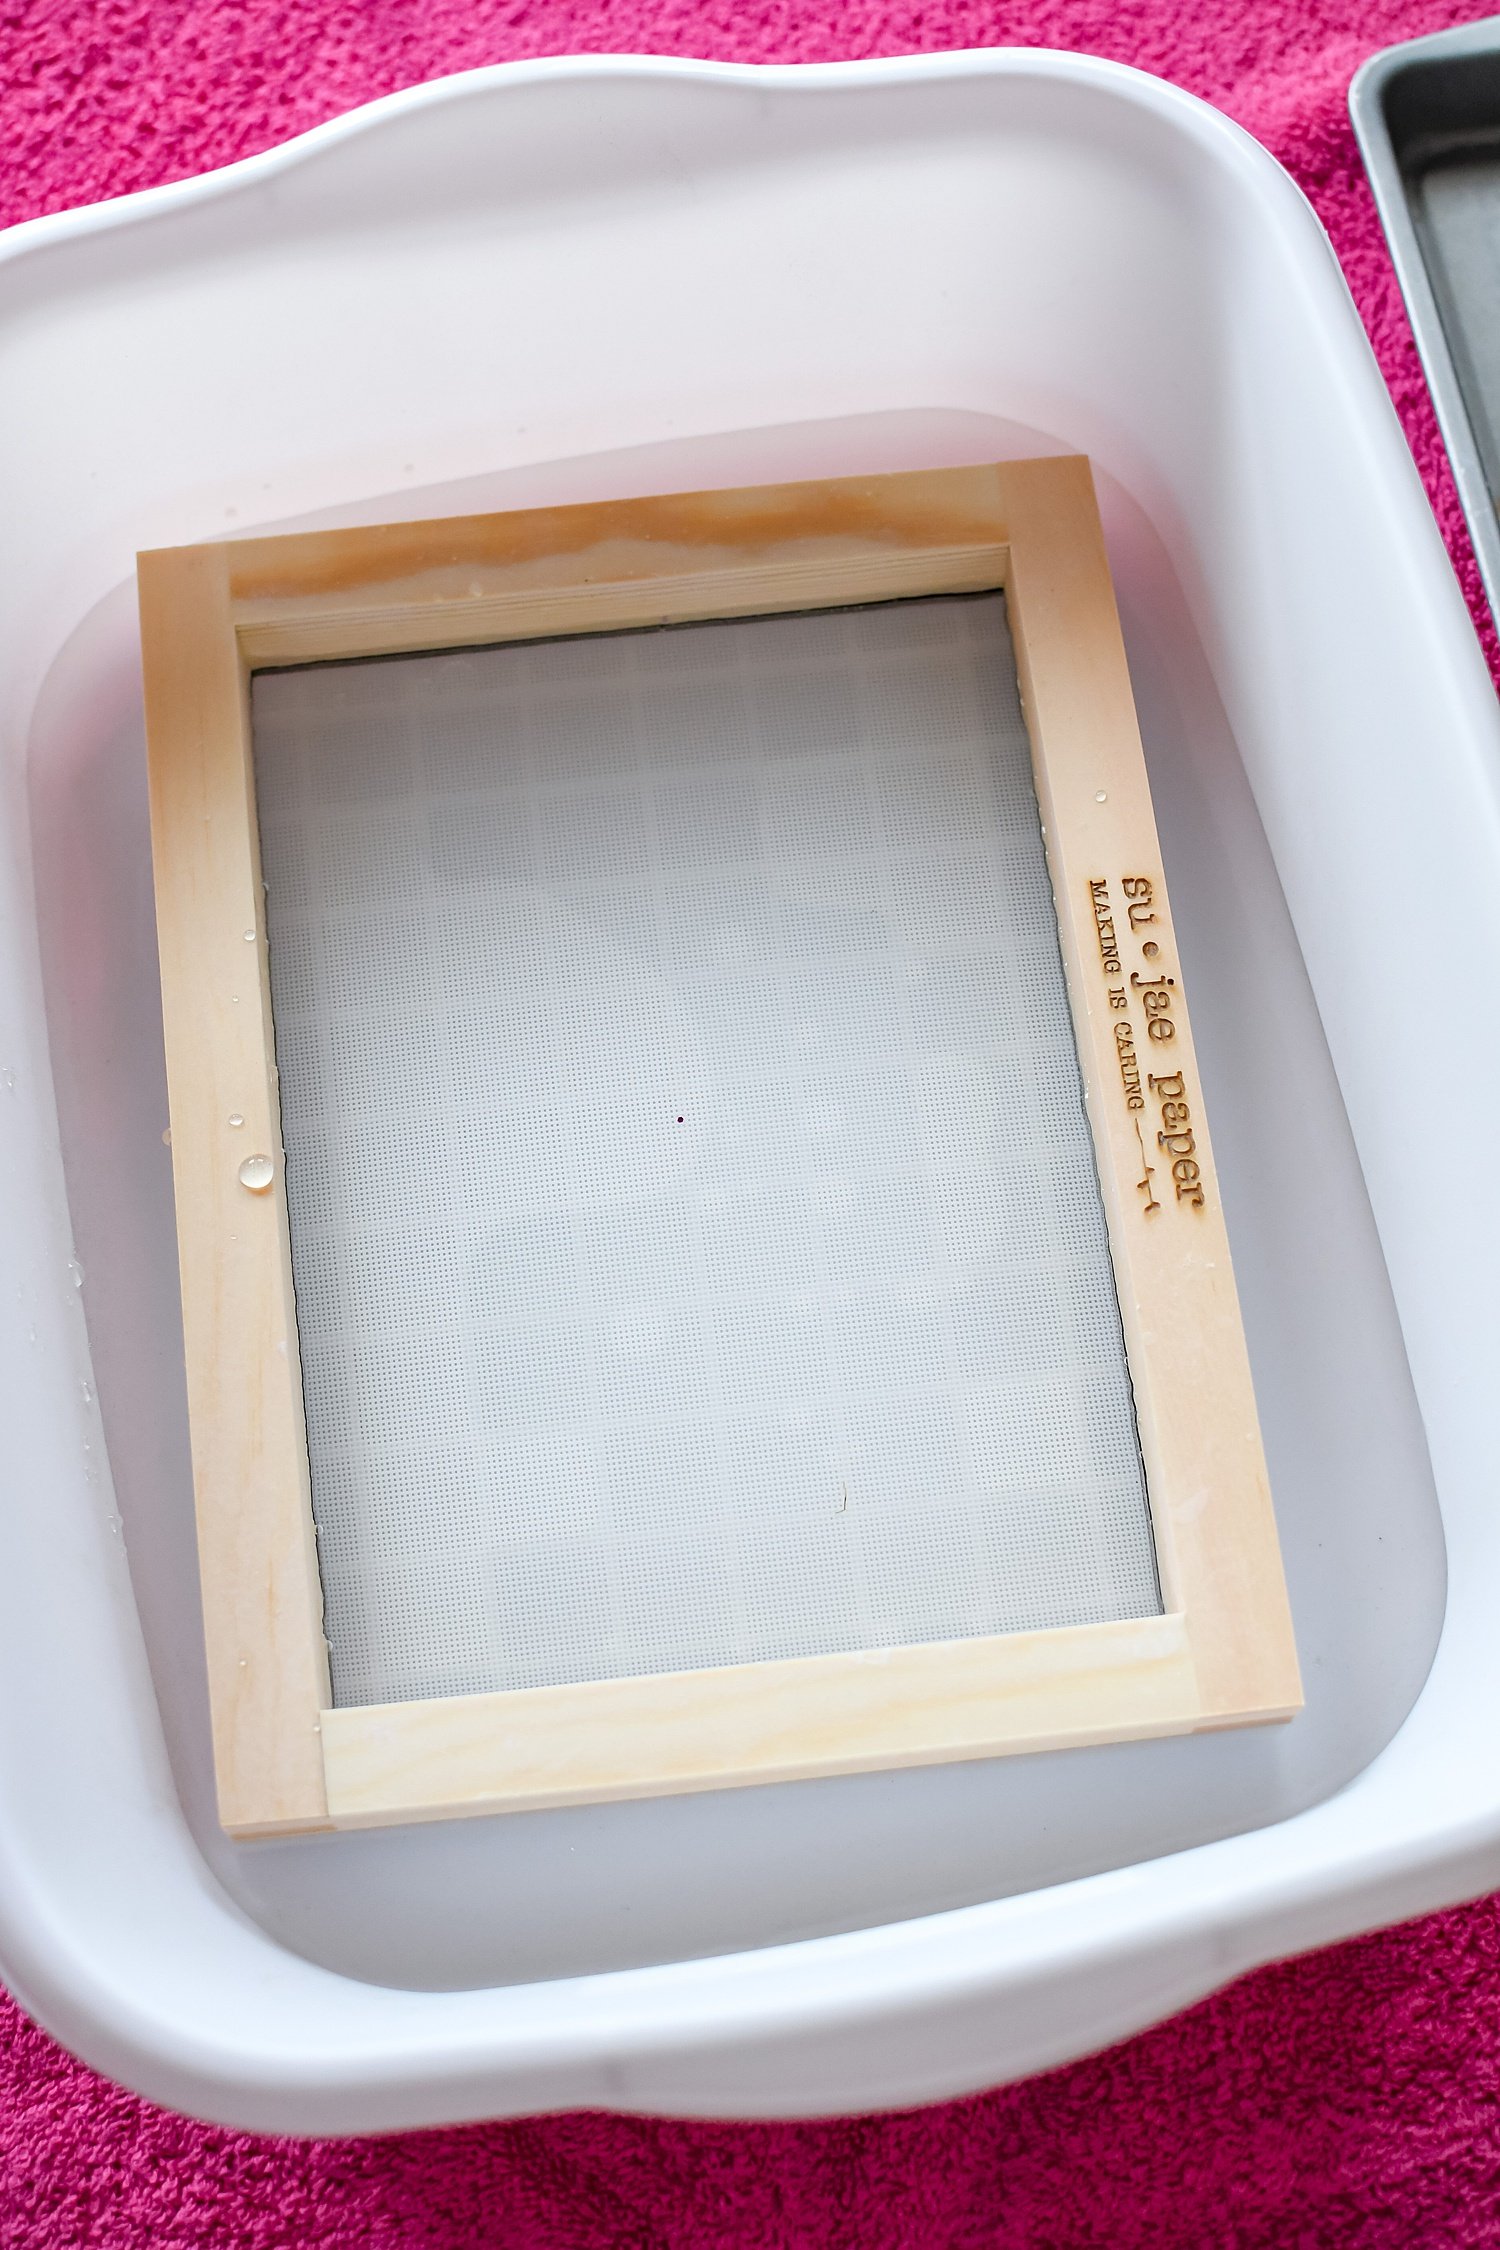
Paper making screen kit (I use this one* for making smaller sheets that are roughly 6”x9” - bonus that it comes with some circular tissue confetti, but you’re of course going to want to use some #theconfettibar confetti for yours. 😉)
A large bucket
A fine mesh screen (optional if you buy a kit like the one linked above, but I prefer to have an additional screen to easily keep my paper intact)
A blender (I bought a cheap one just for papermaking so I don’t have to worry about cleaning as thoroughly)
A baking sheet
Scraps of recycled paper
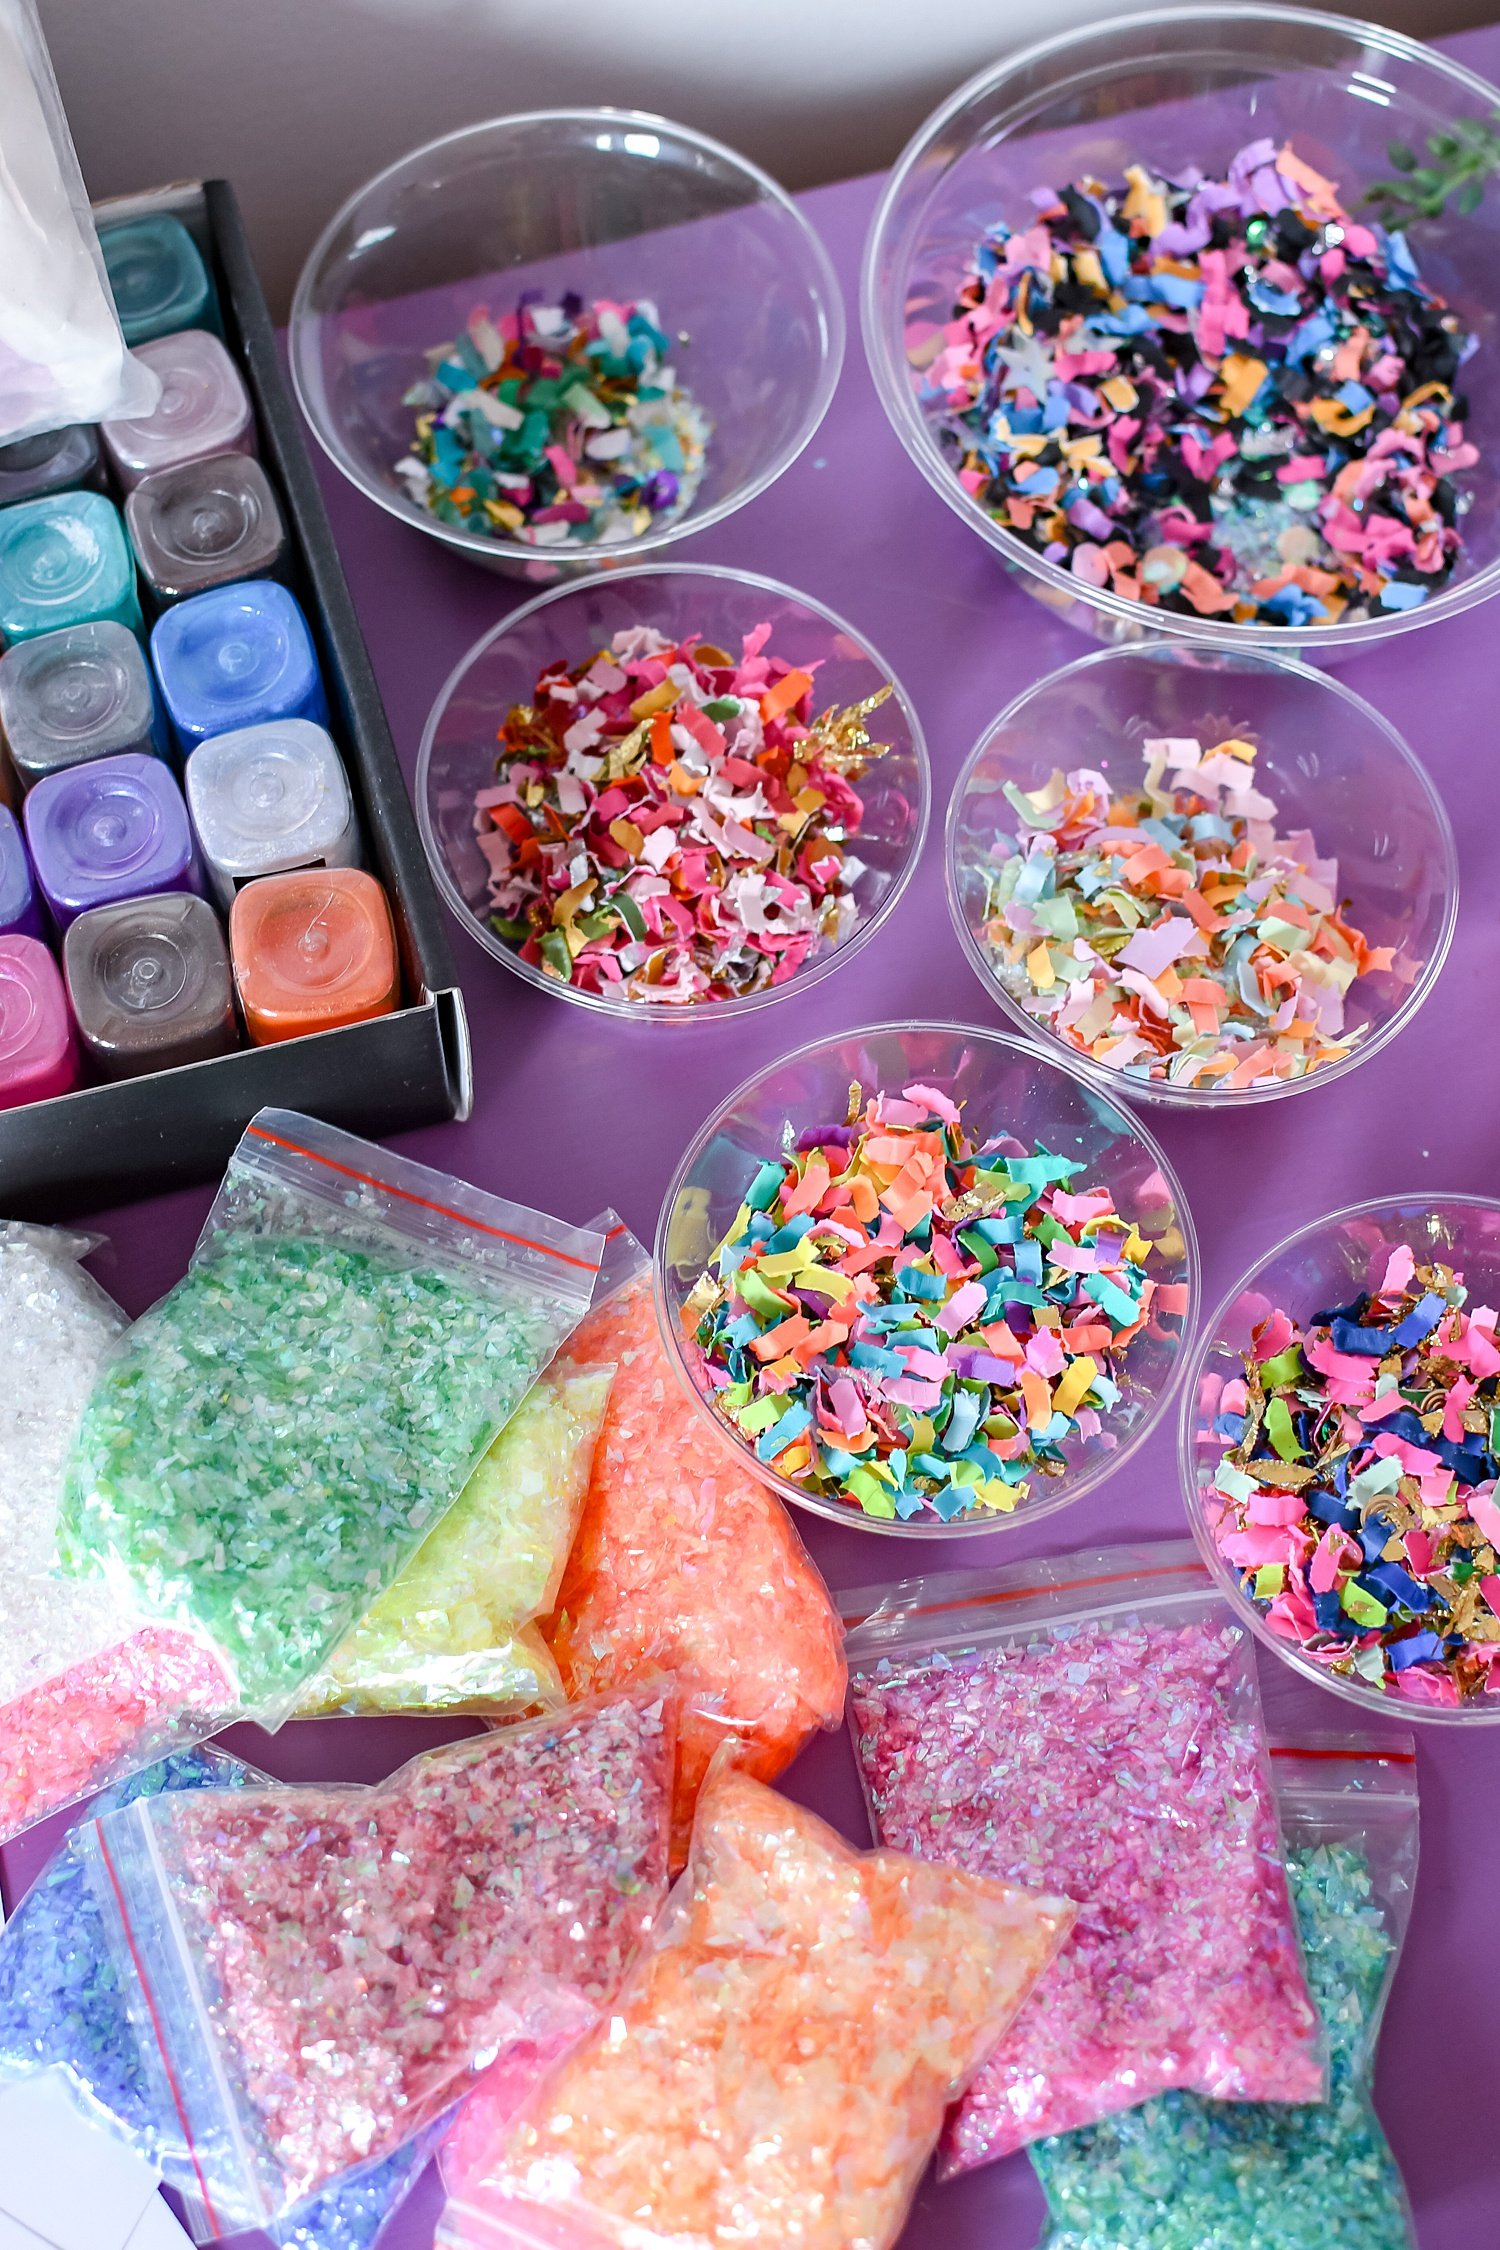
Mix-ins: confetti, glitter, mica powders*, paints, etc.
Towels
Access to water + a sink
P.S. We may earn commissions off links marked with an *
To start, rip up some of your scrap paper and add to a blender. Pour in some water to fully cover, and blend until you get a nice pulp.
Once you have your base pulp, add in a handful of confetti/glitter. Give it a quick pulse to mix, but you don’t want to puree it here. (If you aren’t using a craft-specific blender here, I would recommend hand-mixing or stirring your confetti/glitter into the pulp instead.)
PRO TIP: The color of your scrap paper will determine the base color of your paper pulp. To give your handmade paper some color, you can either use scrap paper that’s already colored, or you can experiment adding acrylic paints/mica powders/food dyes to your pulp.
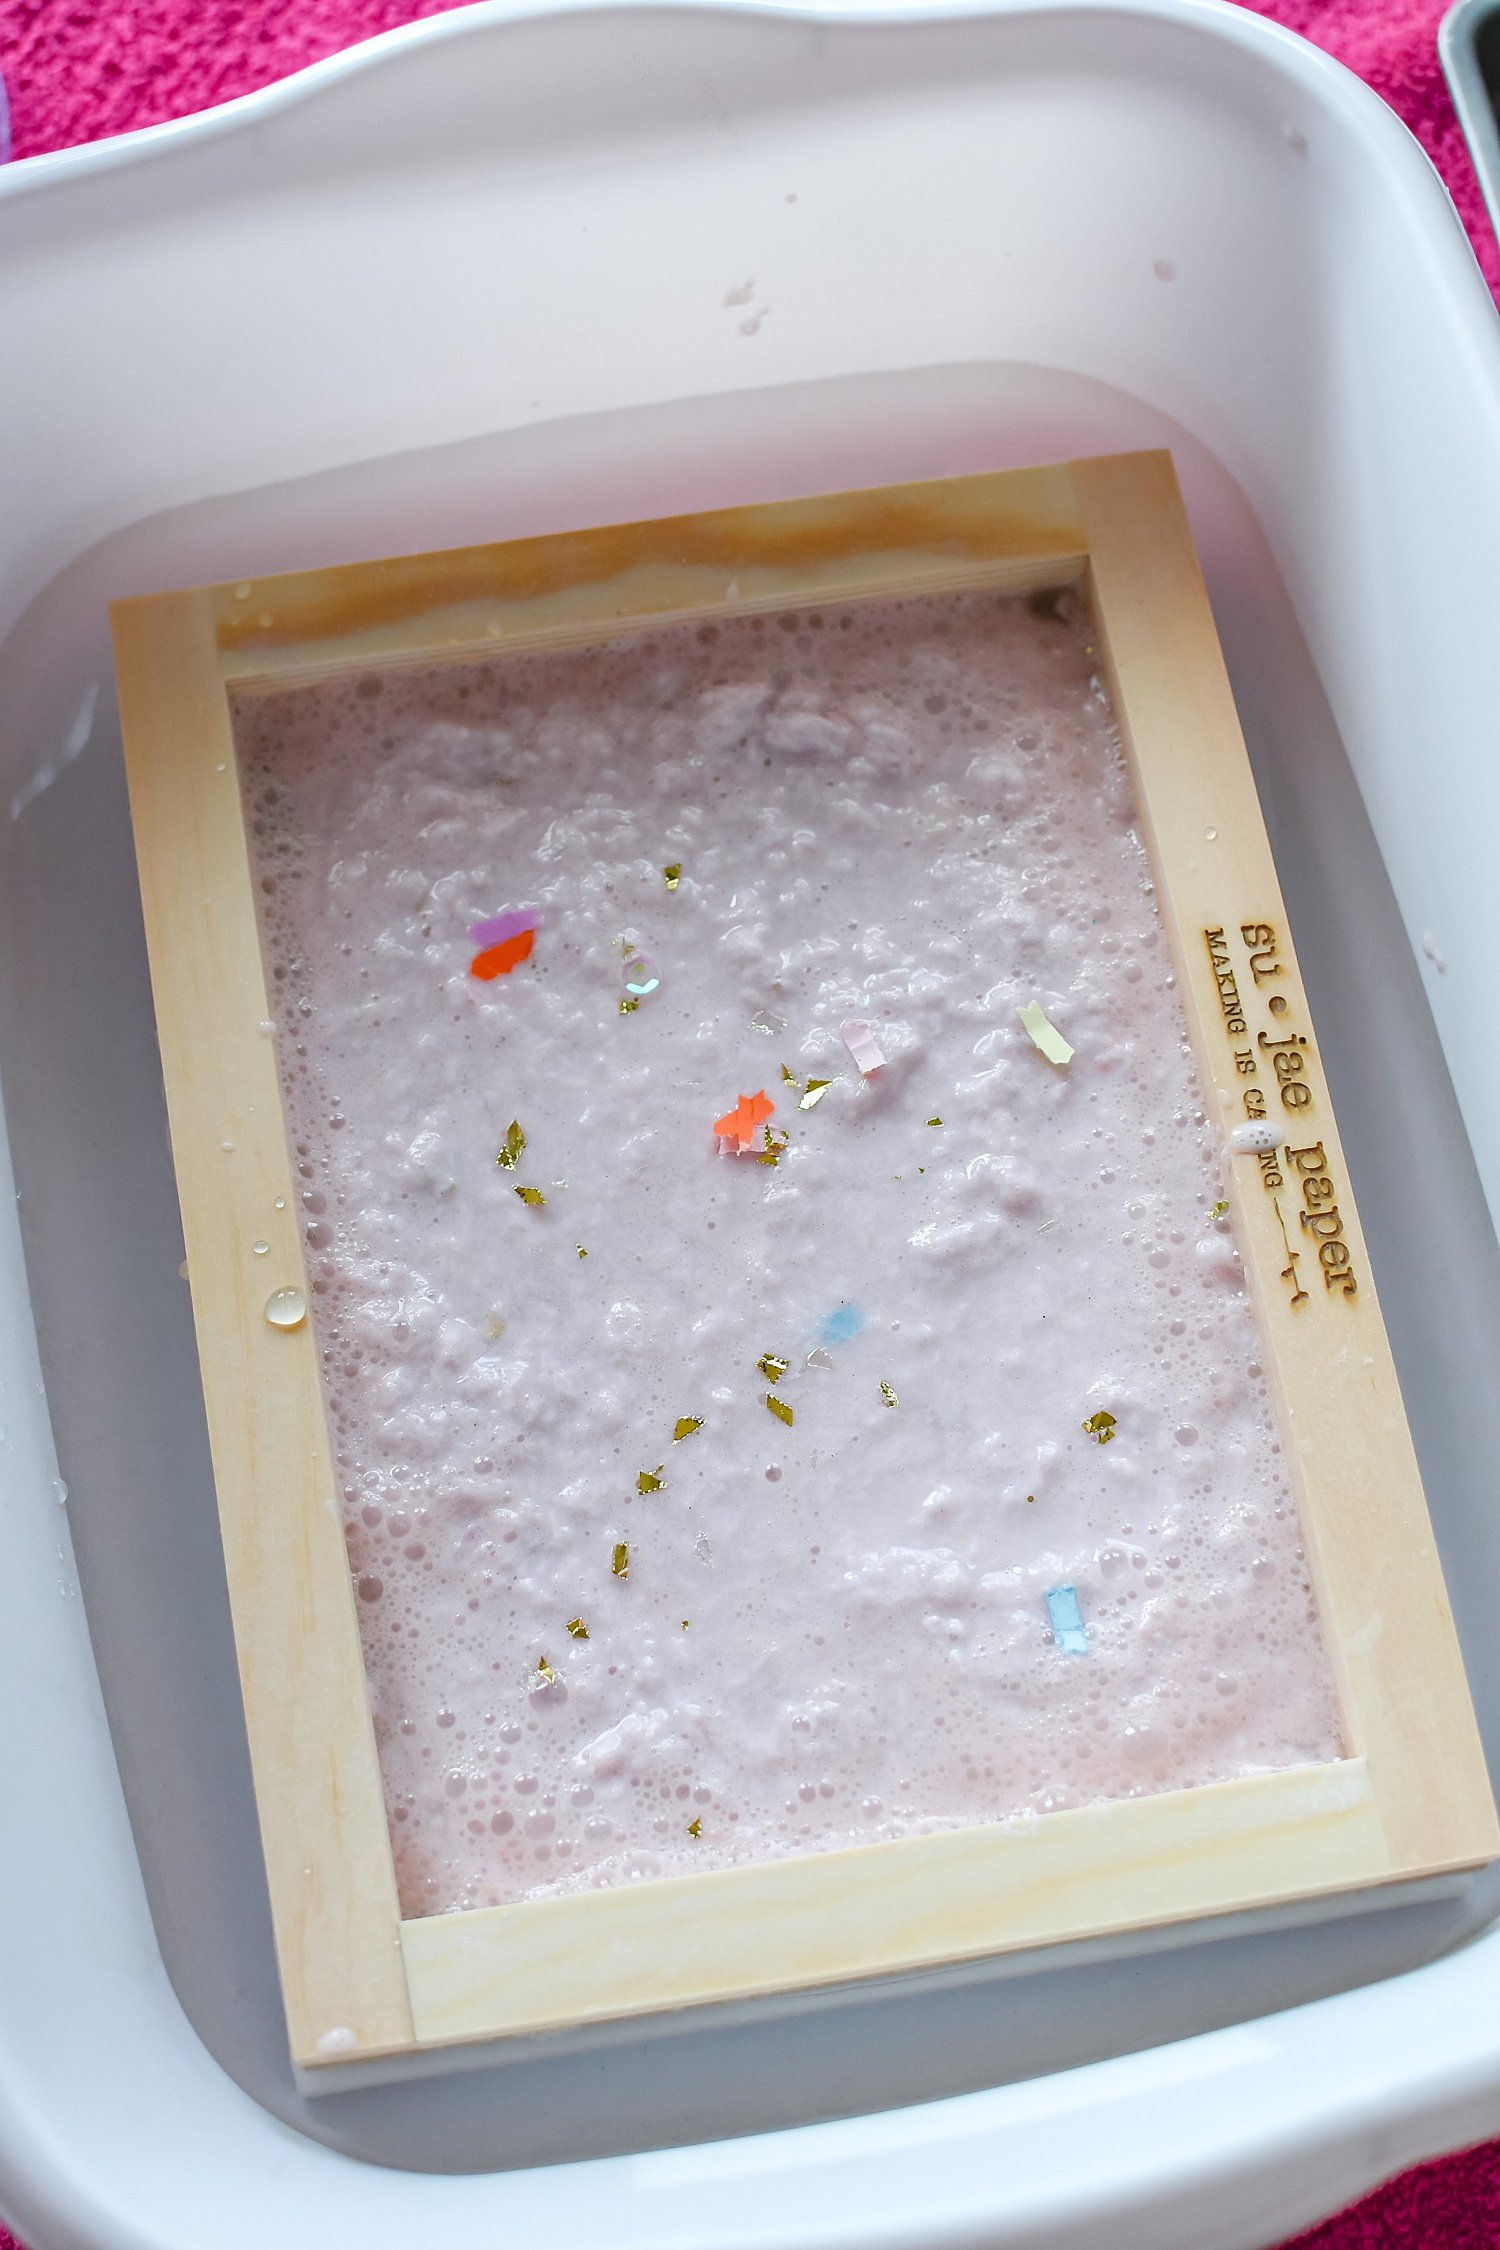
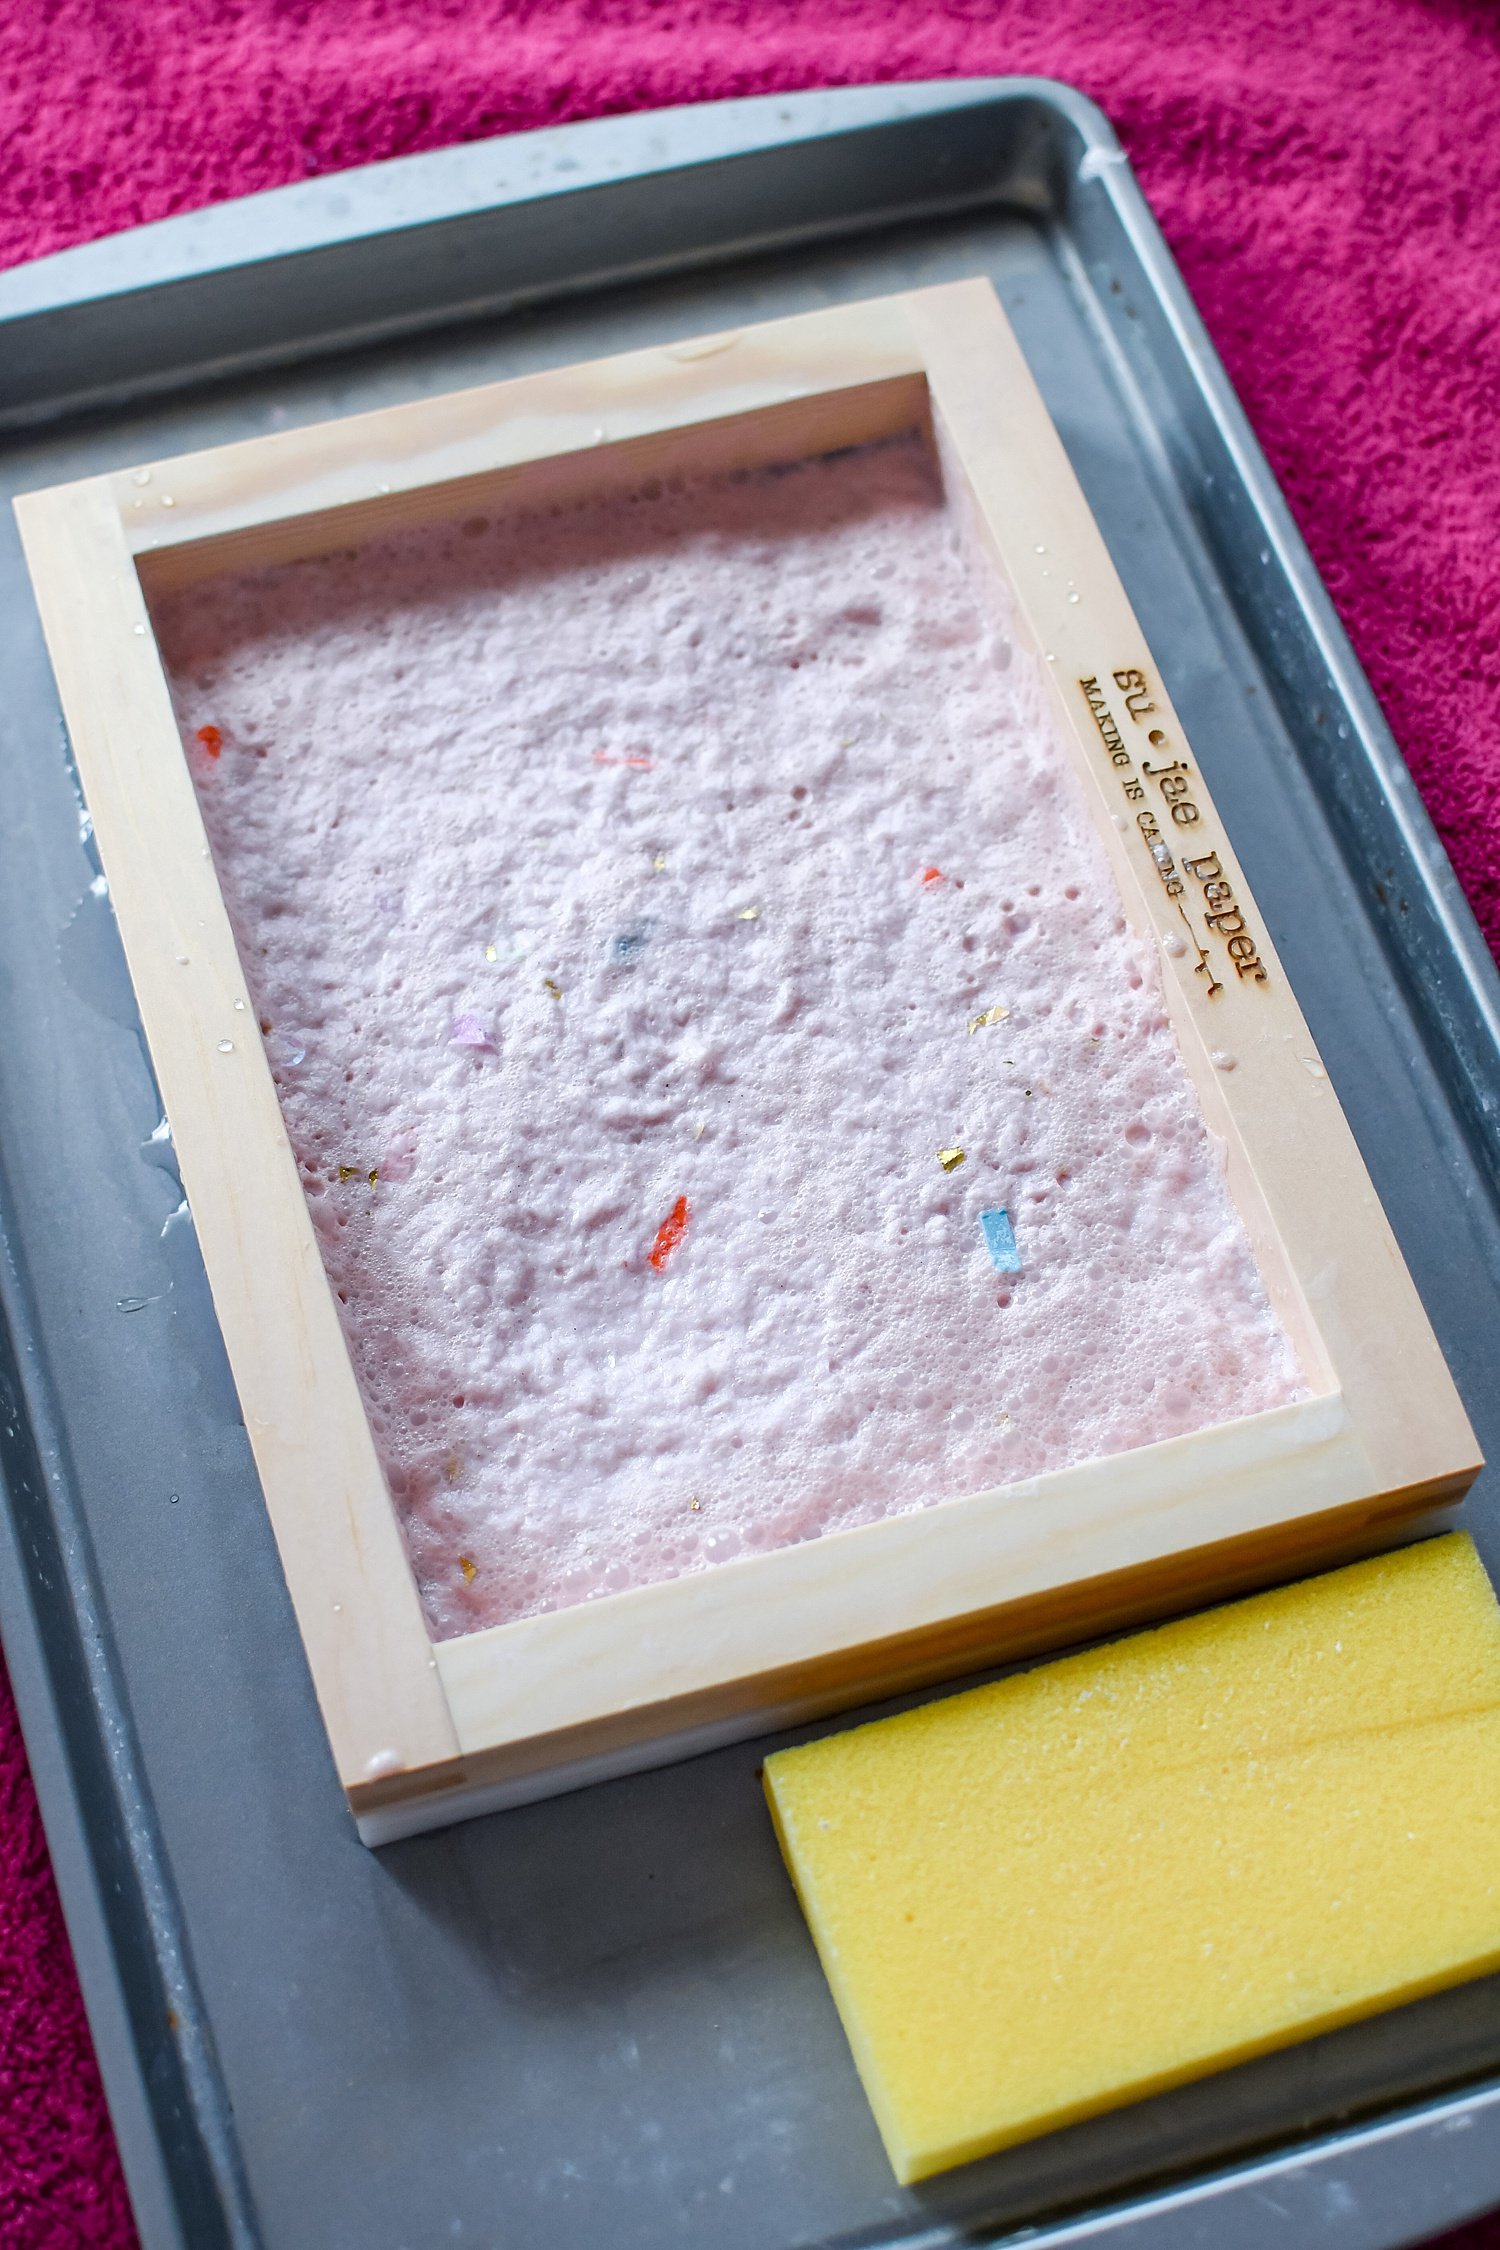
Prepare your papermaking screen in your bucket of water. Then pour some of your glorious confetti paper pulp inside the screen.
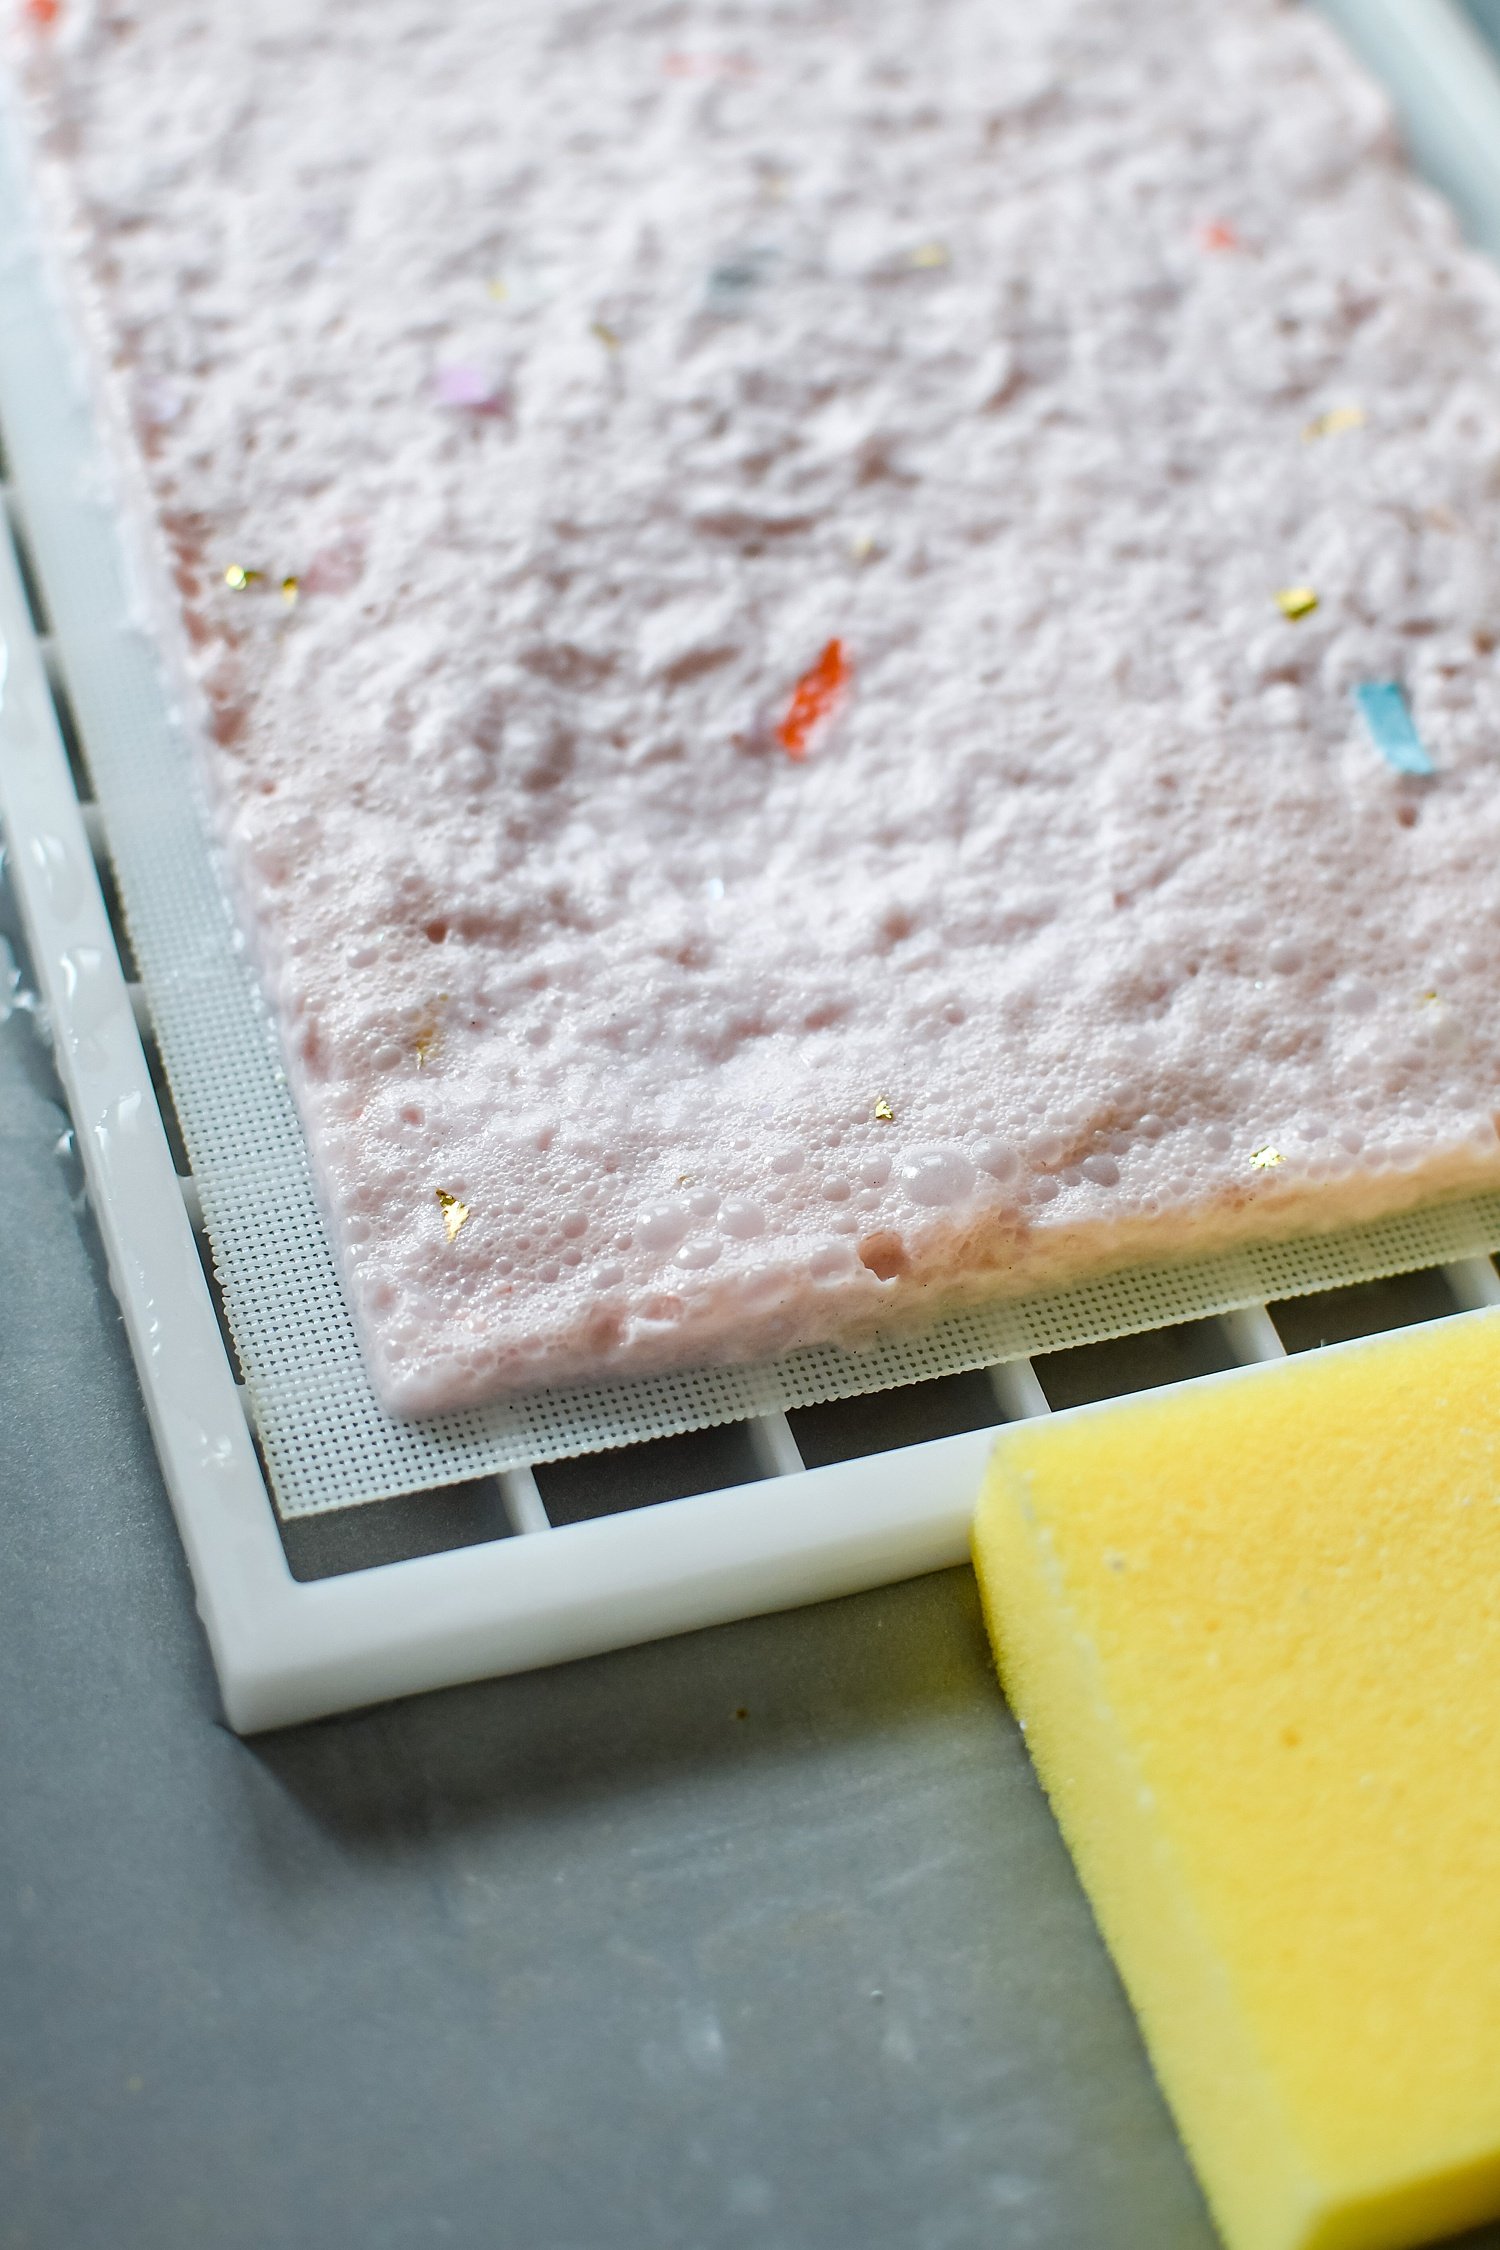
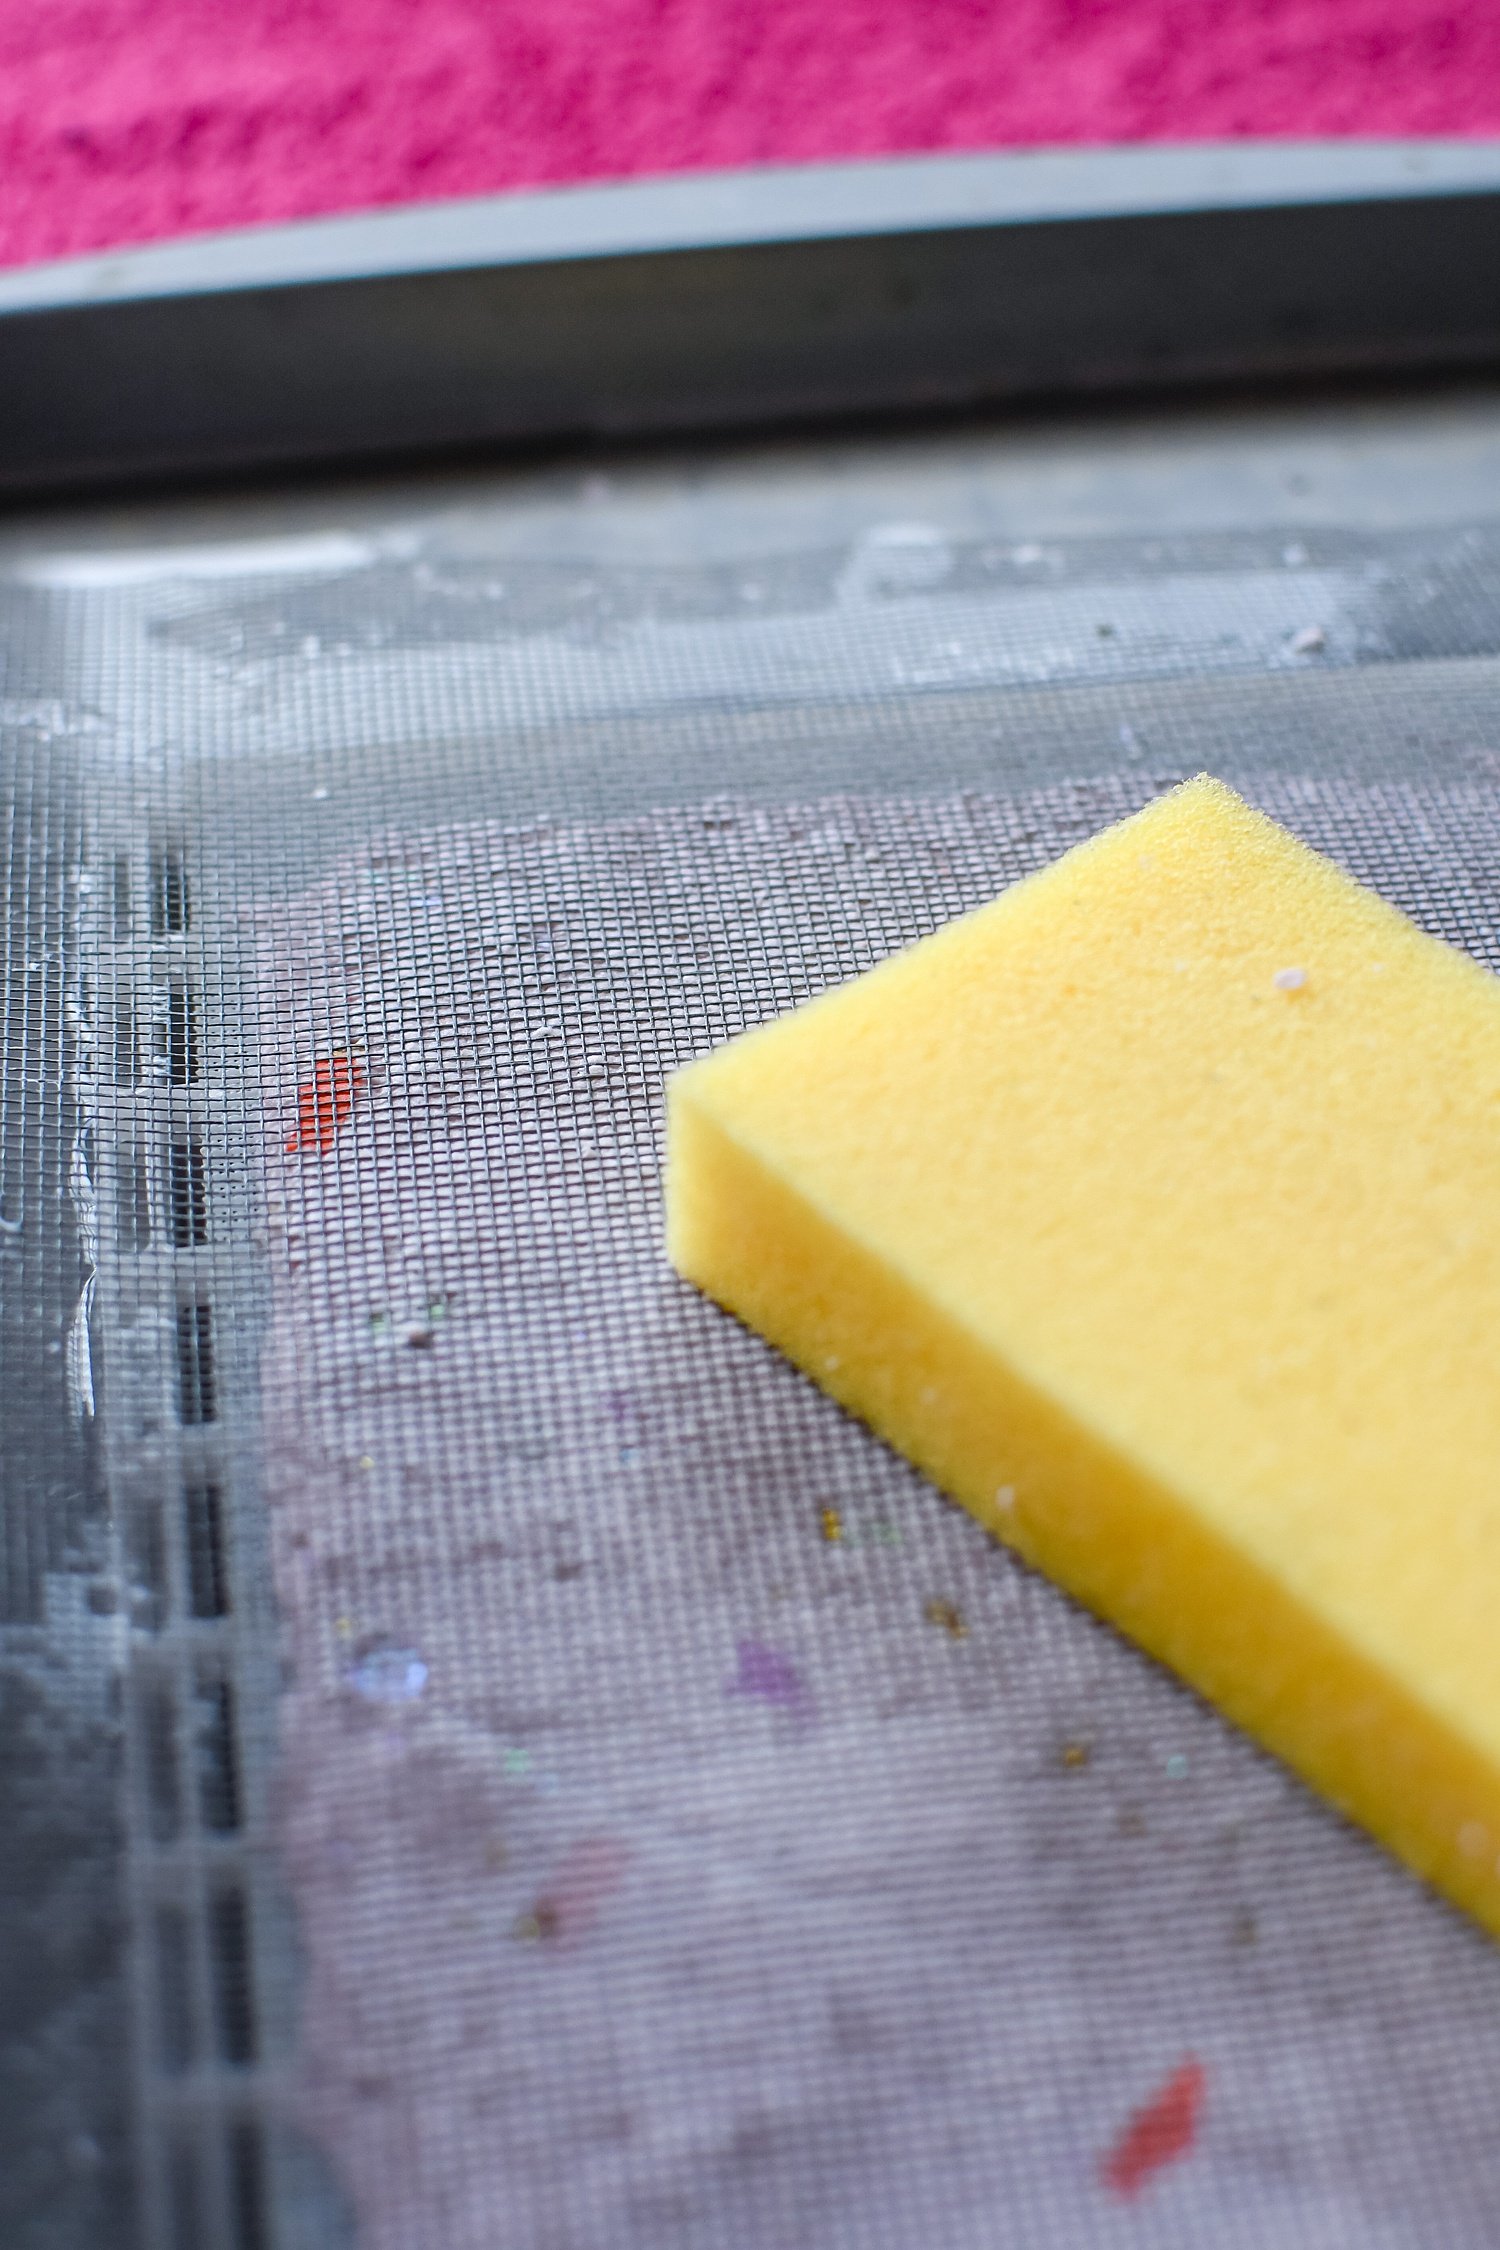
Lift your screen out of the water and transfer to your baking sheet. Using your second fine mesh screen and/or a sponge, press as much excess water our of your paper sheet as possible.
PRO TIP: The lighter your base paper color, the easier it is to see the confetti come through as you press it. If you have a darker color paper - or just want extra confetti! - feel free to add an extra little sprinkle on top of your paper pulp after you remove it from the bucket of water (before pressing).
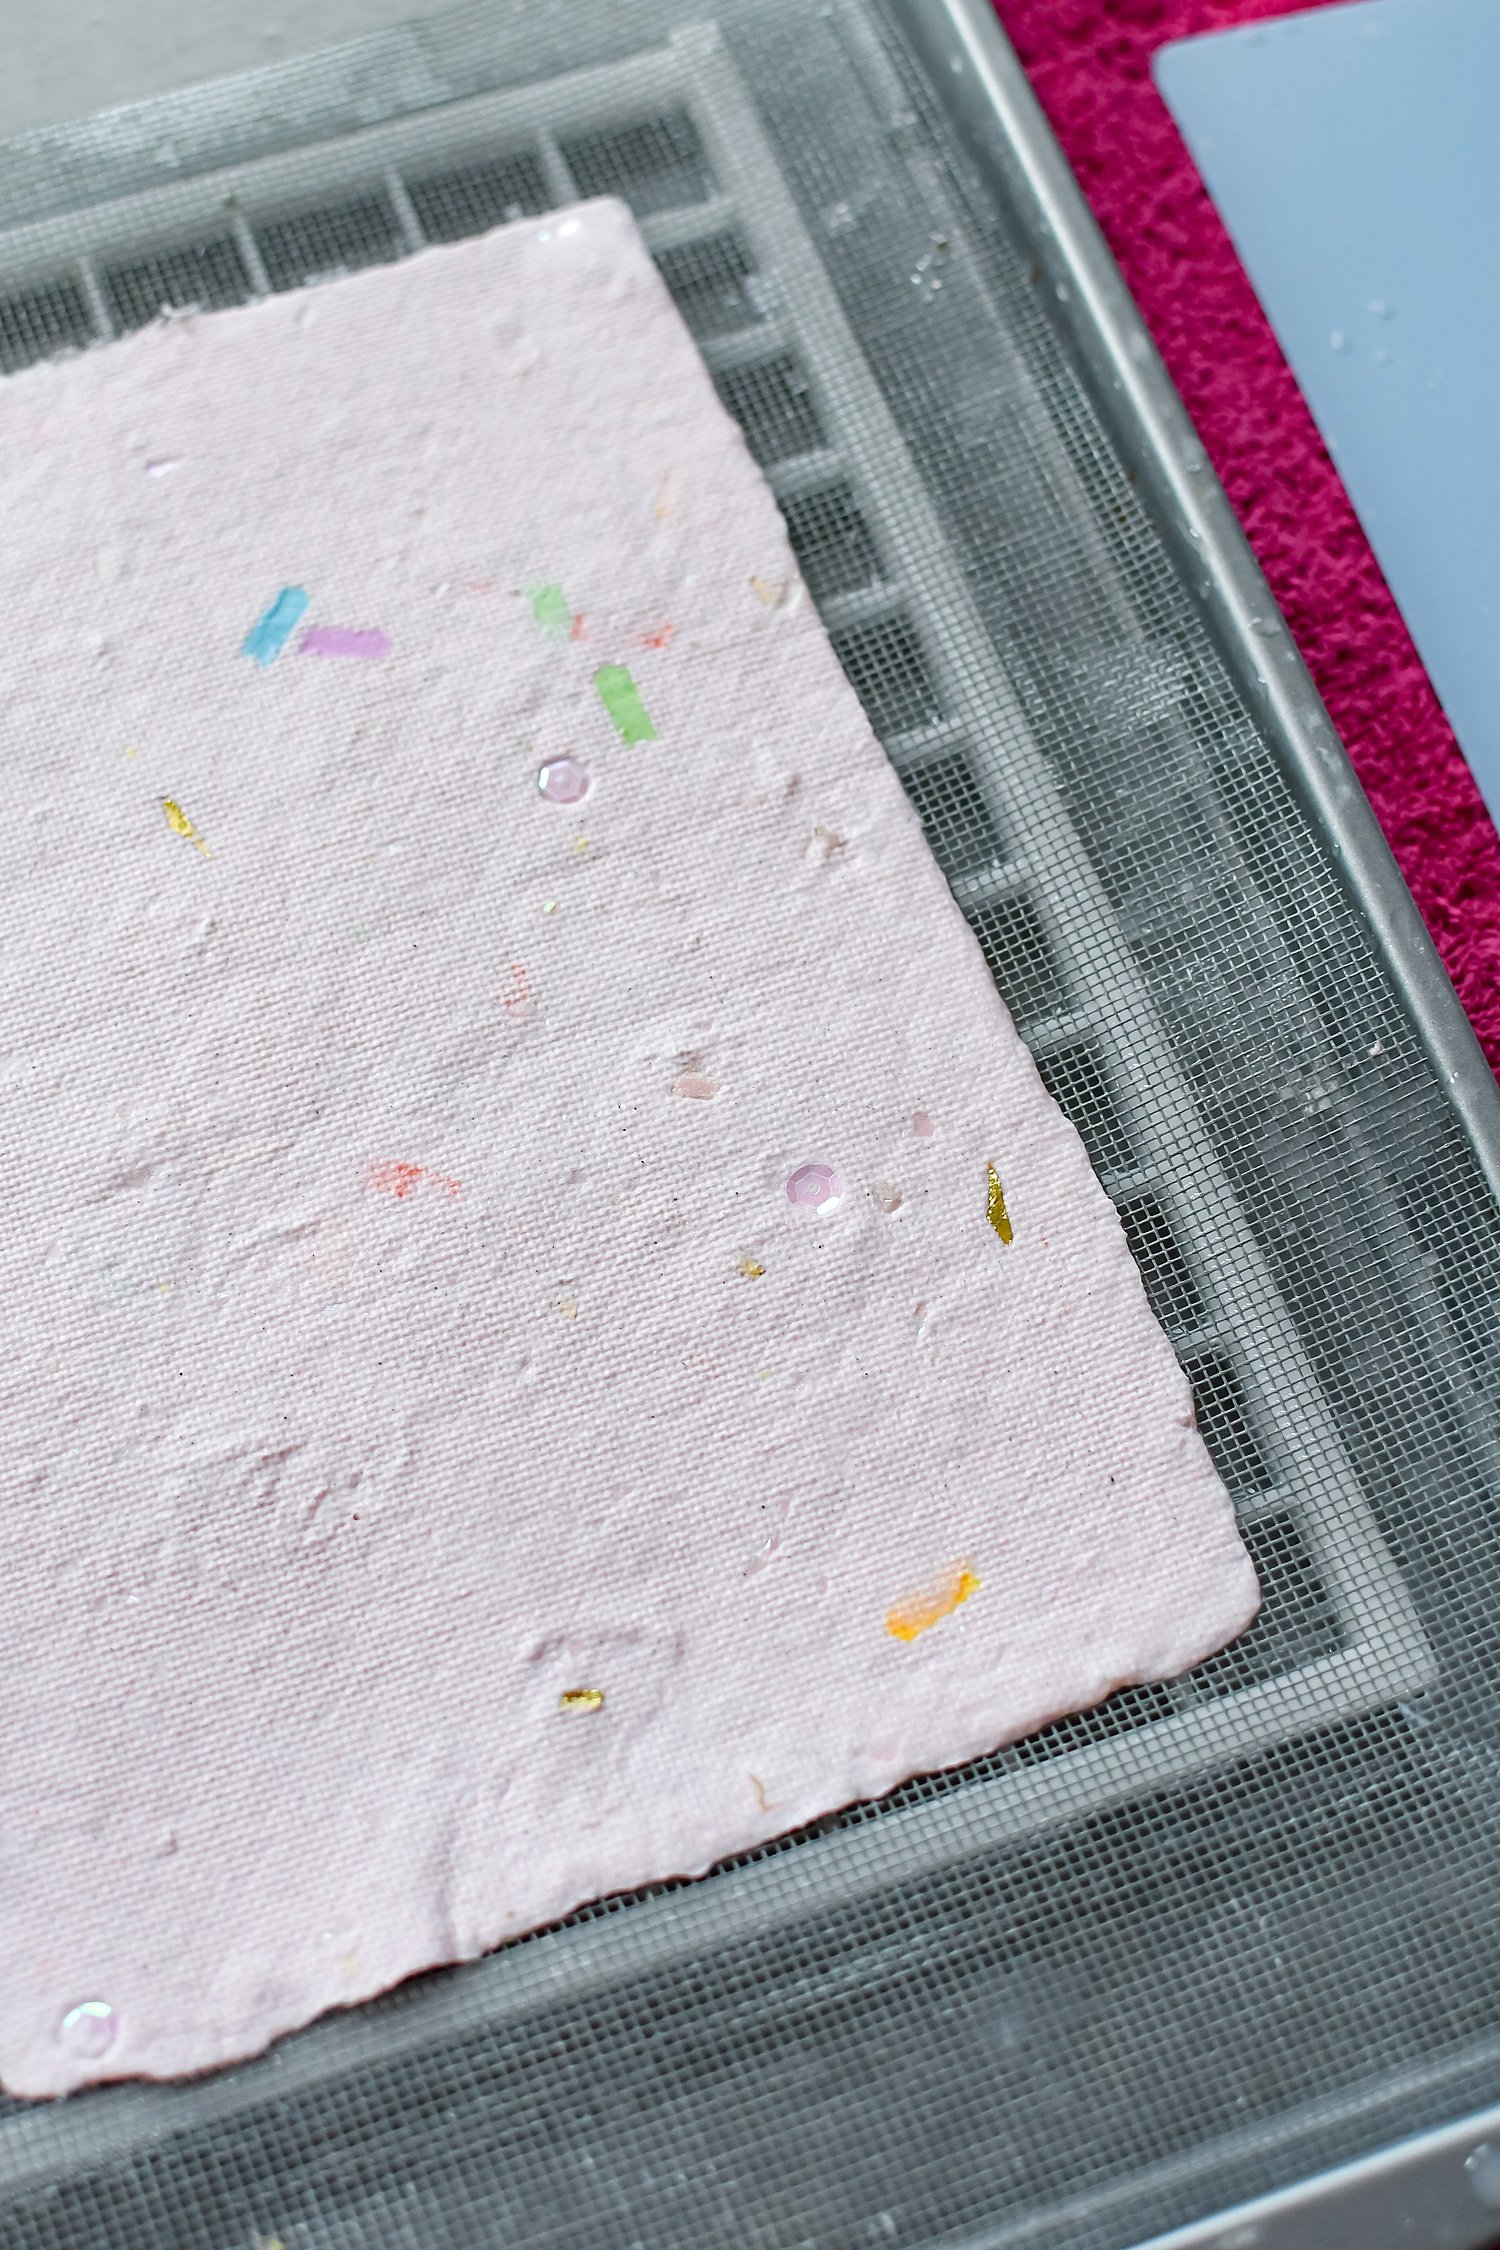
Once pressed as much as possible, transfer your paper sheet to a towel to let dry fully (typically takes a day or two, depending on humidity, etc.). I try to flip the sheets every few hours and move to dry spots on the towel to speed this process up a bit.
PRO TIP: Once fully dry, your paper may curl a bit. You can use an iron on a low setting and sandwich your paper under a layer of thin cotton to press it flat. Just please use caution!
And there you have it - beautiful & fun handmade paper! Whether you choose to write a letter or make a card or cut fun shapes or create unique art, this confetti paper is sure to be a hit. What would you do with it??
I like to overlay sayings on top and frame ‘em up as a bit of inspiration. You might be able to catch some of my confetti paper creations in the art shop here. :)

